

How to Use the GoDaddy Dashboard to Manage Your Account and Website
Article
Introduction
You finally signed up for a GoDaddy account. Maybe you bought a domain or started a GoDaddy website builder project. But when you log in, the dashboard throws a dozen options at you. Account settings, domains, hosting, email, security – it’s a lot to take in.

Many users find GoDaddy’s dashboard can feel cluttered, especially with promotional messages mixed into important settings. That confusion wastes time and slows you down.
This guide walks you through the most critical areas of your dashboard step by step. You will learn how to manage your account settings, find your domains, set up hosting, handle security, check billing, and get support fast.
By the end, you will know exactly where to click to control your GoDaddy website without frustration. Whether you use the website builder GoDaddy offers or host a custom site, this tour will save you headaches.
For a deeper look at what GoDaddy actually costs once the intro prices expire, check out this breakdown of GoDaddy hosting prices.
Let’s start with the main dashboard layout and how to move between its sections quickly.
Navigating the GoDaddy Dashboard
Once you log in, the dashboard is your home base. It shows a quick overview of all your products, recent activity, and shortcut buttons to common tasks. Think of it as the control center for your GoDaddy website.
At the top of the page, you will see a navigation bar with these main tabs:
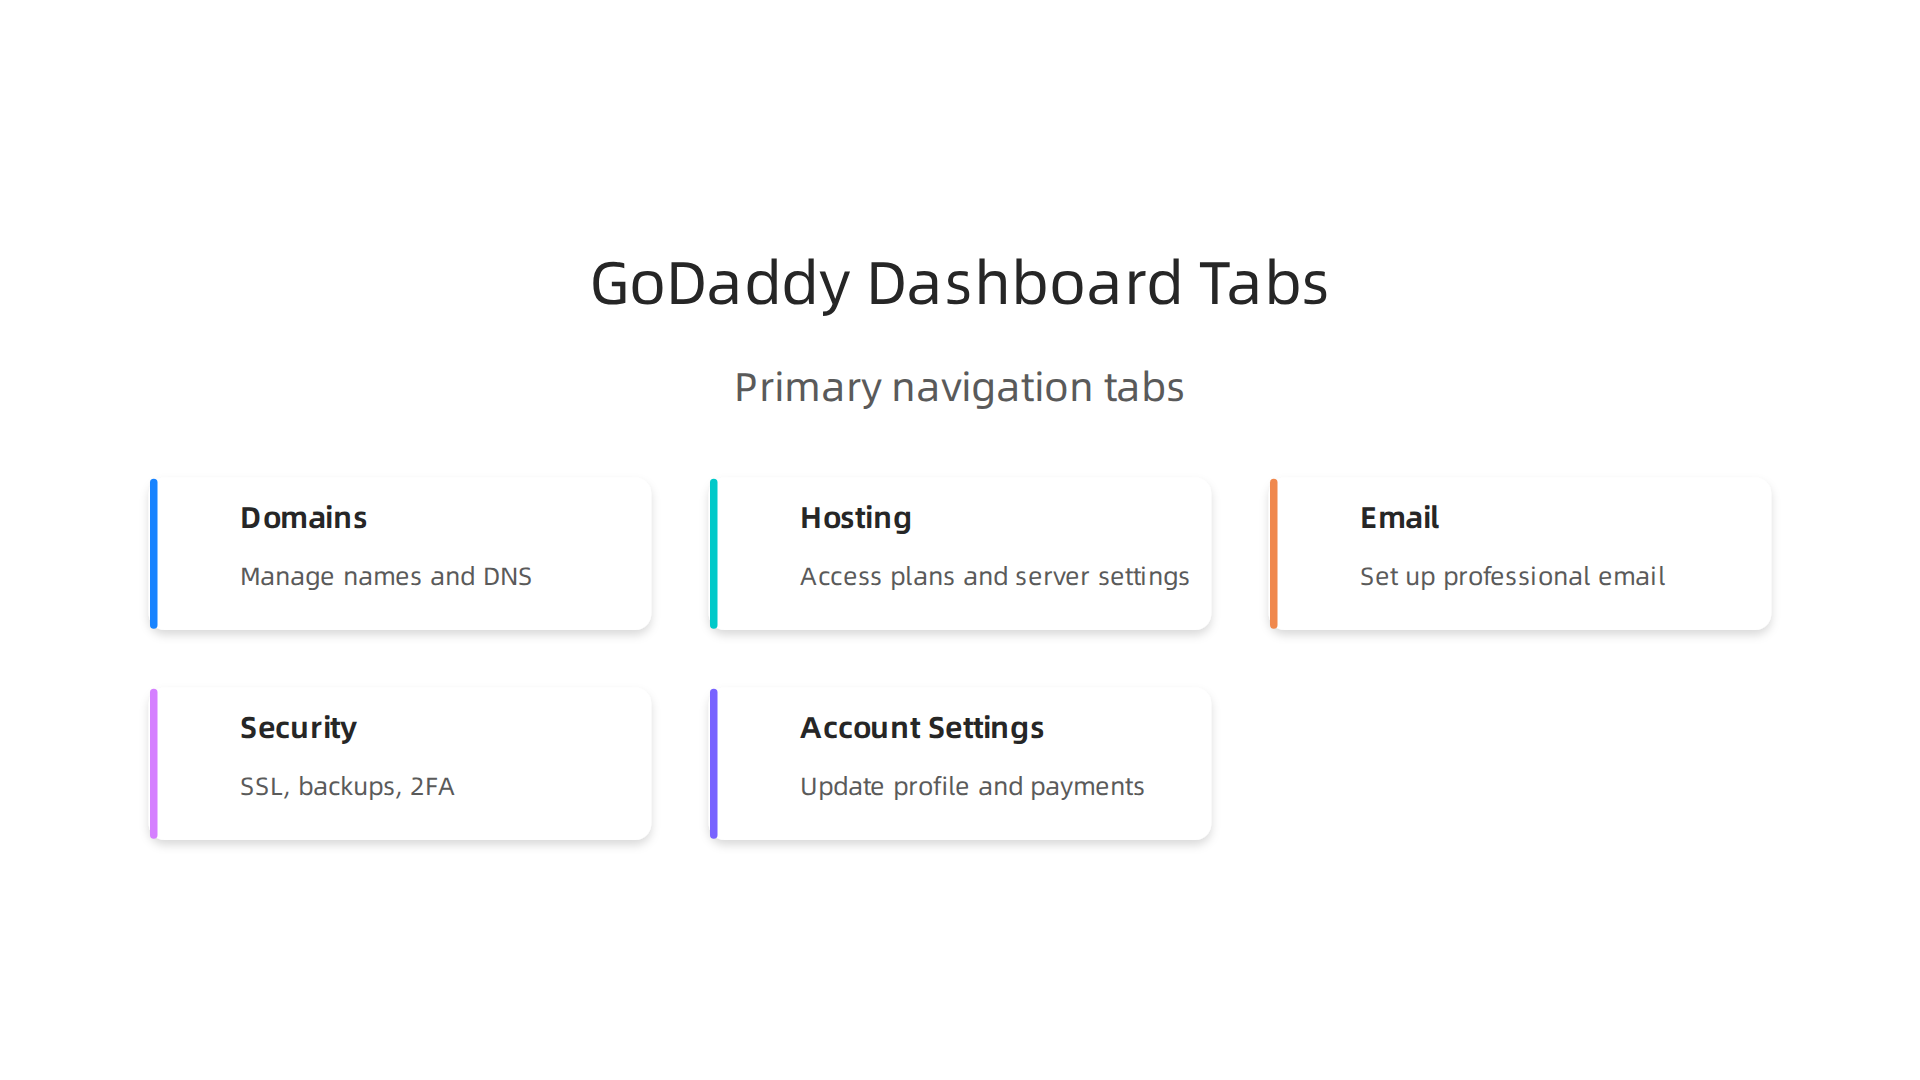
- Domains – Manage your domain names, renewals, and DNS settings.
- Hosting – Access your hosting plans, cPanel, and server settings.
- Email – Set up professional email accounts linked to your domain.
- Security – Check SSL certificates, backups, and two-factor authentication.
- Account Settings – Update your profile, payment methods, and notification preferences.
If you ever feel lost, use the search bar. Just click the magnifying glass icon and type what you need. For example, type "email forwarding" or "my domains" and GoDaddy will take you straight to that feature. This is much faster than clicking through menus.
A review of the GoDaddy Website Builder confirms that everything you need is visible on the dashboard. You can edit your site, manage sales, and buy a domain all from one screen. (Check out this GoDaddy Website Builder Review for more details.)
Remember, the dashboard also shows recent activity so you can see if a payment went through or if your site was updated. Use it as your starting point every time you log in.
If you want to avoid surprise costs later, it helps to calculate your true web hosting cost and avoid hidden fees before you commit to a long plan. That way you know exactly what your website builder GoDaddy setup will cost over time.
Now that you know the layout, let’s look at how to manage your domains from the Domains section.
Account Settings and Profile Management
Your account settings live behind the avatar icon in the top right corner of your dashboard. Click it and you will see a menu with options to update your personal info, change notification preferences, and manage payment methods. This is where you keep everything about your account up to date.
What You Can Do Here
The Accounts section gives you control over three key areas:
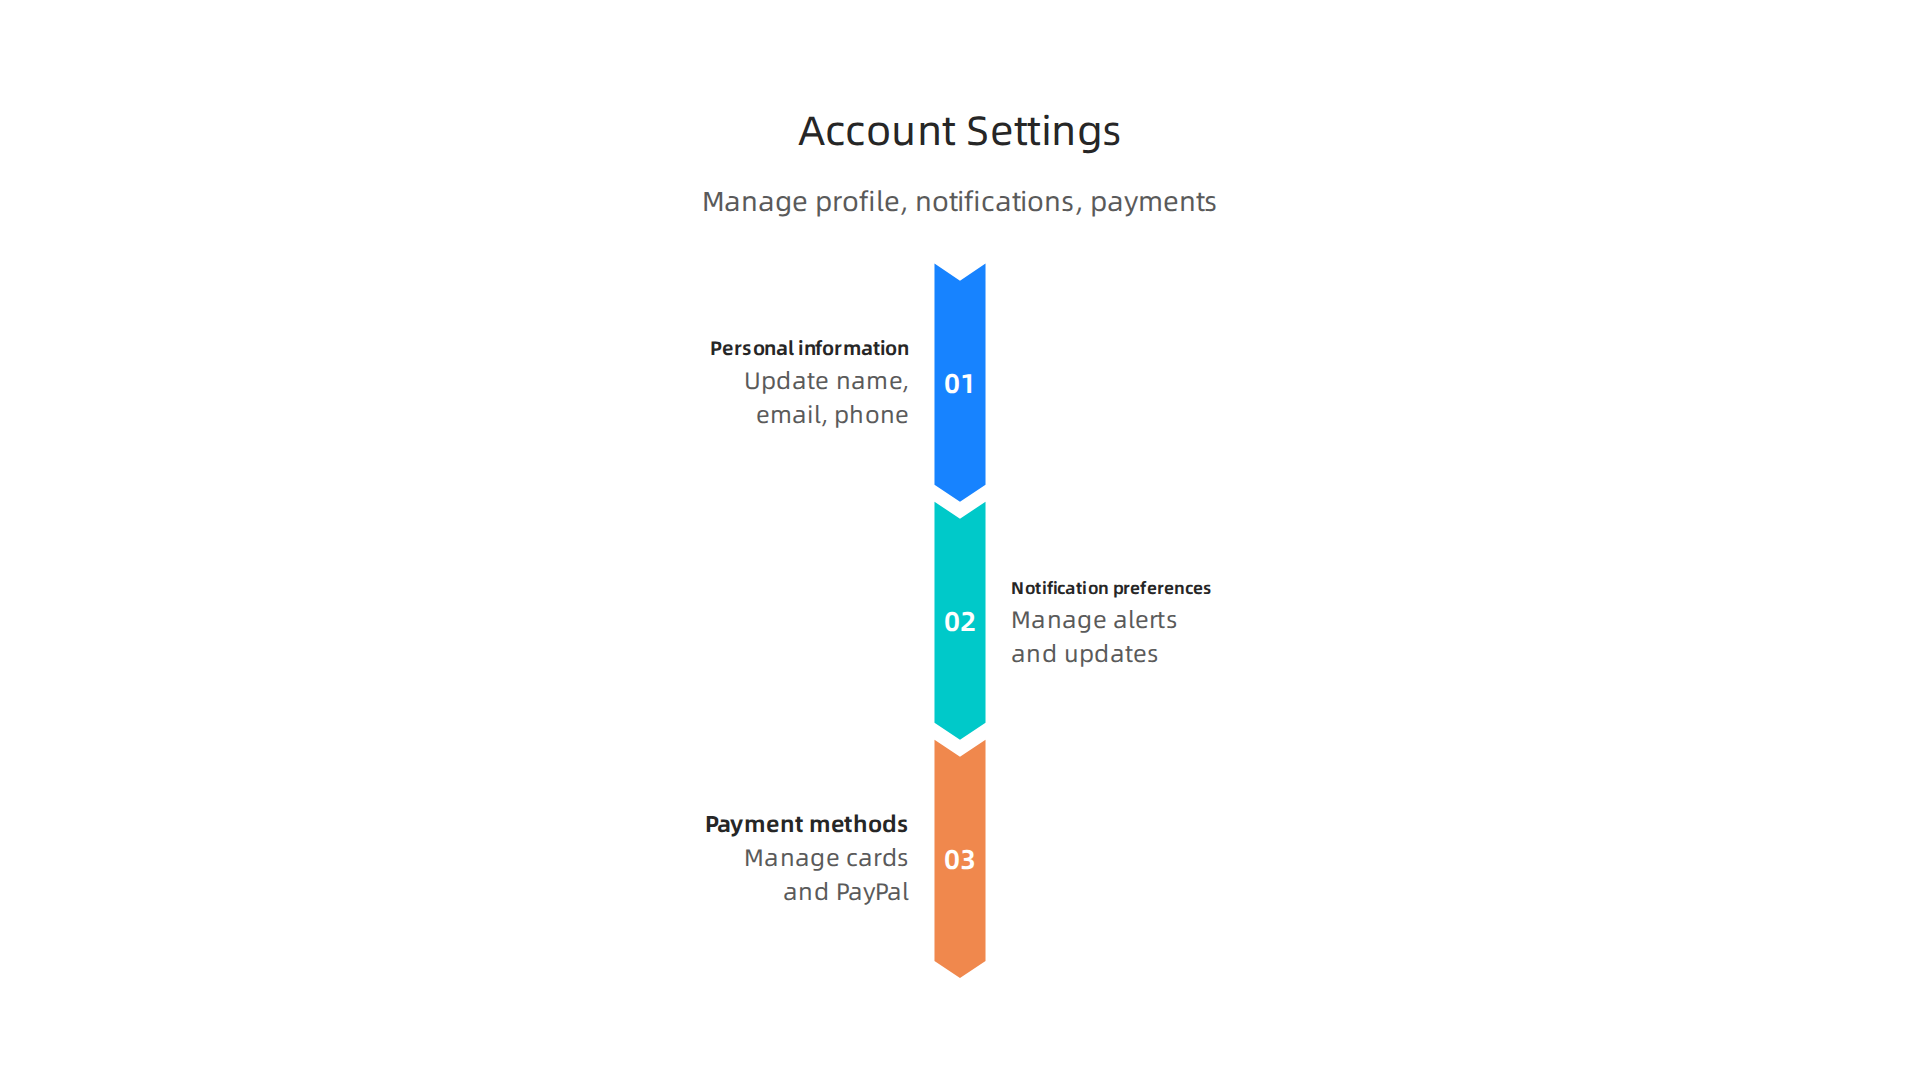
- Personal information – Update your name, email address, phone number, and business details
- Notification preferences – Choose which emails you want to receive, from renewal reminders to product updates
- Payment methods – Add or remove credit cards and PayPal accounts so your bills pay automatically
Keeping your contact info current matters because GoDaddy uses it to send security alerts and domain renewal notices. If your email changes and you forget to update it, you could miss a critical warning.
User Permissions for Shared Accounts
If you run a business where multiple people help manage your GoDaddy website, the User Permissions sub-section is essential. It lets you add team members and decide what each person can access. For example, you can give a designer permission to edit content in your GoDaddy website builder without letting them see billing details. This keeps your account safer while still letting others contribute.
Turn On Two-Factor Authentication
Security should be a priority for every website builder GoDaddy account. Inside the Security tab of your account settings, you can enable two-factor authentication (2FA). This adds an extra step to logins. Even if someone steals your password, they cannot get in without a unique code sent to your phone. A recent GoDaddy’s 2026 performance and security review confirms that 2FA is available and strongly recommended given the platform’s security history.
Taking a few minutes to set up 2FA and review your user permissions protects your domains, website files, and customer data. If you want to explore other ways to keep your online presence secure, it helps to find reputable domain name registrars that protect your business as you grow.
Domain Management: Adding, Transferring, Renewing
Your domains are the foundation of your entire online presence, and GoDaddy gives you a central place to manage them all. From your dashboard, click into the Domains section and you will see every domain you own listed with its current status, expiration date, and quick action buttons for DNS management.
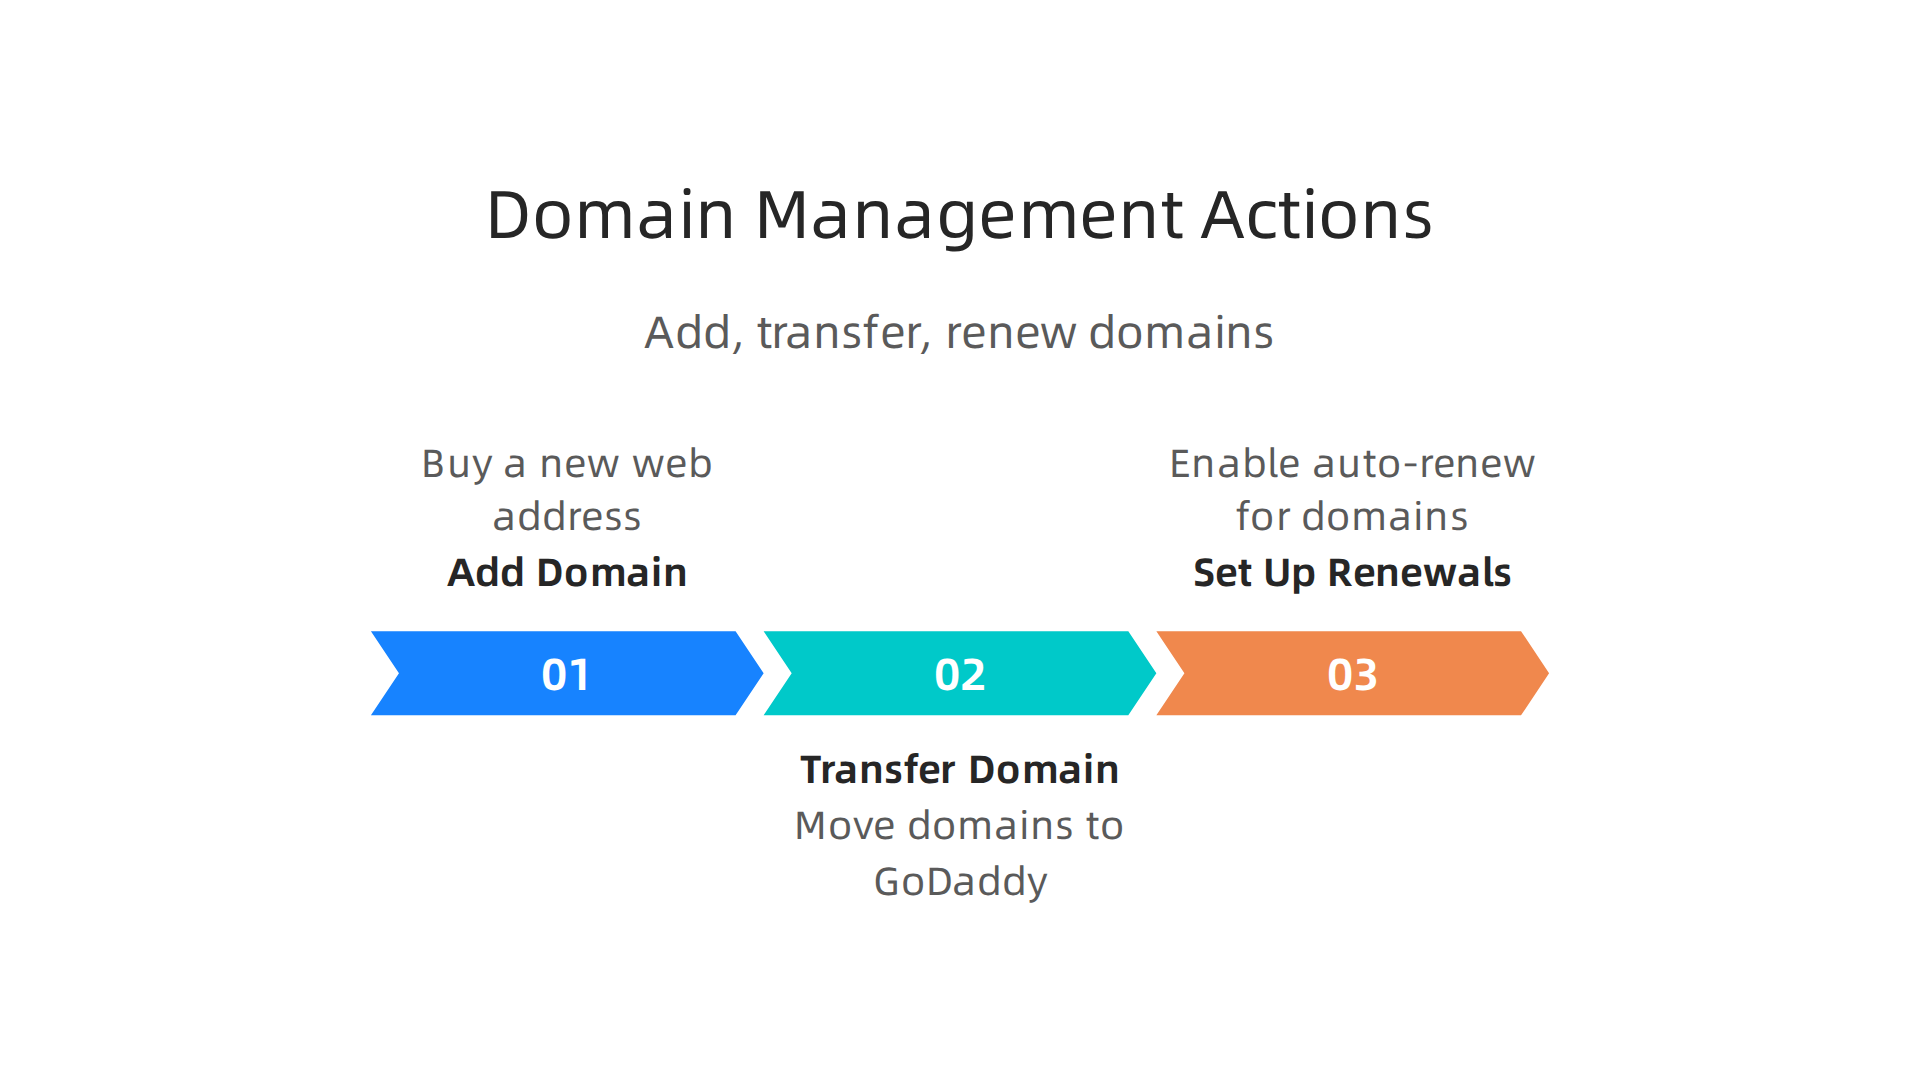
Adding a New Domain
If you need a new web address, you can buy one right from the same dashboard. Just click the Buy button, search for your desired name, and complete the checkout. The domain will appear in your portfolio within minutes.
Transferring Domains to GoDaddy
Already own a domain elsewhere? You can bring it into your godaddy website account by clicking the Transfer button. The process requires a few steps on your current registrar’s end first. You need to unlock the domain, get the authorization code (sometimes called an EPP code or transfer key), and verify your contact info. Then on GoDaddy’s side, you enter the domain name, paste in the auth code, and follow the checkout steps. A complete walkthrough is available in their official guide on how to transfer my domain to GoDaddy.
Setting Up Renewals
Nothing hurts worse than letting a domain expire and losing your godaddy website address. Go to the Renewals page to turn on auto-renew for each domain. You can do this one by one or in bulk by selecting multiple domains at once. Auto-renew means your payment method on file gets charged automatically before the expiration date. If you want to compare renewal costs across providers, check out this domain name renewal price comparison to make sure you are not overpaying.
Web Hosting Dashboard: Control Panel Overview
Once your domain is set up and renewal is sorted, the next big piece is web hosting. Your hosting dashboard is where your godaddy website lives. Click into the Hosting section from the main menu, and you will see a list of all your hosting plans. Each plan has a Launch button that opens the control panel. For most shared hosting accounts, that control panel is cPanel. If you have a Windows server, you will see Plesk instead.
Inside the control panel, you can handle everyday tasks like:
- File management using FTP or the built in File Manager
- Database setup for MySQL or PostgreSQL
- Email configuration to create professional inboxes
If you use managed WordPress hosting, GoDaddy offers a simplified dashboard. It includes automatic updates so your site stays secure without extra work. You also get a staging environment where you can test changes before pushing them live. This is great for anyone using the godaddy website builder because it keeps things simple while still giving you control.
Need a deeper look at what you are paying for? Check out this breakdown of GoDaddy hosting prices in 2026 to see if your plan matches your budget. And if you ever need to move a domain in or out, you can follow the official guide on how to transfer my domain to GoDaddy for a step by step walkthrough.
Your hosting dashboard is the command center for your entire site. Spend a few minutes exploring the menus so you know where everything is. That little bit of upfront time saves you headaches later.
Monitoring Hosting Performance and Uptime
Once you are comfortable inside your hosting dashboard, the next smart move is keeping an eye on how well your godaddy website actually performs. You do not want visitors hitting a slow page or, worse, a site that is down. The good news is that GoDaddy gives you the basic tools to track this right inside the control panel.
For shared hosting users, the cPanel dashboard shows key metrics like CPU usage, memory consumption, and disk space. You can find these under the "Stats" or "Resource Usage" sections. If you have a VPS or dedicated server, GoDaddy provides a dedicated Monitoring tab. There you can see real-time resource usage and uptime percentages for the last 30 days. For advanced plans, the monitoring section also reports response times for services like FTP, HTTP, and email. You can check the official guide on resource usage and uptime for VPS hosting for more details.
GoDaddy’s managed WordPress hosting goes a step further. Independent benchmarks show it delivering strong speeds and uptime, which is why many small businesses choose the website builder godaddy offers for its simplicity. According to third-party testing, GoDaddy managed WordPress hosting achieves an average response time of 362ms and 99.99% uptime. You can read the full analysis of GoDaddy Managed WordPress performance and uptime to see how it stacks up against competitors.
The built-in monitoring is a solid start, but you can also connect third-party tools like Uptime Robot or Pingdom for extra alerts. These services check your site every few minutes and notify you instantly if something goes offline. That said, the basic data you need is already inside your GoDaddy dashboard.
If you ever find yourself wanting a hosting provider that prioritizes performance monitoring even more, consider switching to a platform that includes advanced tracking out of the box. Check out Prism Web Host web hosting services for a solution designed with speed and reliability in mind.
And to avoid common hosting pitfalls that cause crashes, read this article on hosting mistakes that lead to downtime. A few minutes spent on monitoring now can save you hours of headaches later.
Security Features: SSL, DDoS, and 2FA
Performance monitoring is only half the picture. Your godaddy website also needs strong security to protect your visitors and your data. GoDaddy includes several important security tools that you can manage right from your dashboard. Knowing where to find them keeps your site safe from common threats.
SSL Certificates
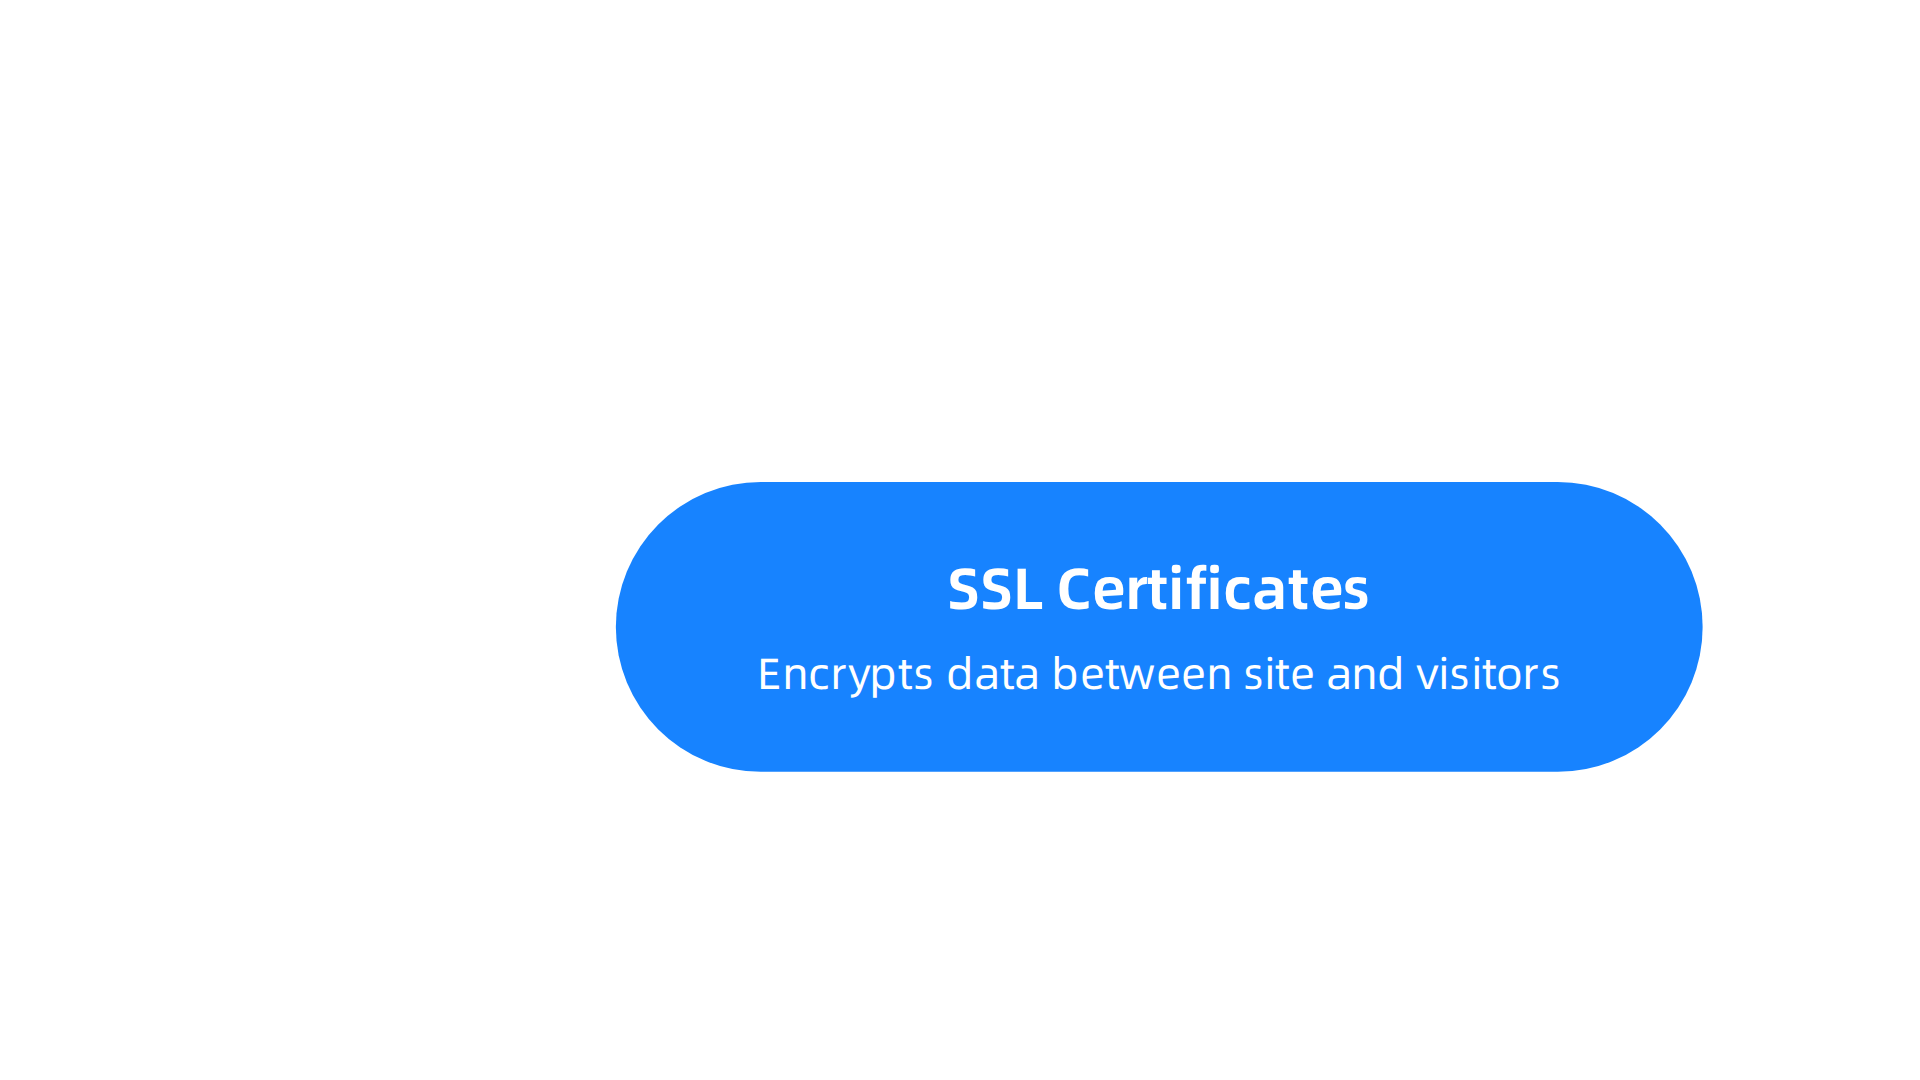
An SSL certificate encrypts data between your site and its visitors. Without one, browsers may warn users that your site is not secure. To manage SSL for your godaddy website, go to your product page and find the domain or hosting plan. Under the "Security" section, you can enable, renew, or install a free SSL certificate. This is included with most hosting plans, so there is no extra cost. If you run an online store or collect any personal information, SSL is not optional. It is essential.
DDoS Protection
Distributed denial-of-service (DDoS) attacks try to overwhelm your site with traffic and take it offline. GoDaddy includes DDoS protection with certain hosting tiers, especially for higher-level plans. You can check if your plan has this protection by visiting the hosting dashboard and looking under the "Security" or "Protection" settings. For most shared hosting, basic DDoS mitigation is already active on the server level. For more control, you may need to upgrade to a VPS or dedicated server. GoDaddy’s hosting solutions with DDoS protection explain what is covered for each plan. Keeping this protection on helps prevent downtime from malicious traffic.
Two-Factor Authentication (2FA)
The most important step you can take for your GoDaddy account itself is enabling two-factor authentication. This adds a second layer of security beyond your password. To turn it on, go to "Account Settings", then the "Security" tab. From there, choose "Two-Step Verification" and follow the prompts. You can use an authenticator app or receive codes via text. Once enabled, even if someone steals your password, they cannot log in without the second factor. This protects not only your billing info but also your entire godaddy website from being hijacked.
Putting It All Together
These three features SSL, DDoS protection, and 2FA form a solid foundation for website security.
Take a few minutes to check each one is active for your account and domains. If you are looking for a hosting provider that makes security even easier, consider a platform with built-in enterprise-grade protections. For more details, read our guide on Terra hosting security features to see how advanced security stacks compare. A secure site builds trust and keeps your business running smoothly.
Billing and Payment Settings
Keeping track of your billing is just as important as securing your site. If your payment method expires or auto-renew turns off by mistake, your godaddy website could go offline. Luckily, GoDaddy puts all your billing info in one place.
Head to the "Renewals and Billing" page from your account menu. There you will see a list of every product you own: domains, hosting plans, email subscriptions, and more. This is your central command center for payments.
Auto-Renewal: On or Off
Many products in your godaddy website are set to auto-renew by default. You can check if auto-renew is active for each item and toggle it on or off individually. To see the current status, go to the "Manage Subscriptions" section. Products that will auto-renew show their next renewal date. Products that will not show the date they will cancel. If you want to turn off auto-renew for a specific product, select the three dots next to it and choose "Turn off Auto-Renew." You can also manually renew at any time. GoDaddy’s help guide on how to check auto-renew status walks through the exact steps.
Payment Methods
Your payment methods are managed under "Payment Methods" in the billing section. You can add a new credit card, update an expiration date, or remove an old card. PayPal and account credits are also options. If you have multiple cards on file, you can pick one as the default for auto-renewals. For subscription changes, GoDaddy’s guide on changing your subscription payment method shows the process step by step.
Avoiding Surprise Renewals
Some users discover too late that a domain or hosting plan renewed at a higher price. To stay on top of costs, review your subscriptions every few months. If you prefer a hosting provider with clear upfront pricing and no surprise jumps, check out our domain name renewal price comparison to see how other options stack up. Taking a few minutes to manage your billing settings will keep your godaddy website running without unexpected interruptions.
Customer Support: Live Chat, Phone, and Knowledge Base
Sooner or later, you will run into a question you cannot answer yourself. Maybe you cannot figure out how to connect a domain. Or a setting looks different than expected. When that happens, you want help fast. GoDaddy offers 24/7 support, and it is easy to reach.
The quickest way to get help is through the "Help" menu at the top of your account page. Click it, and you will see the support options. Live chat is the fastest choice for most issues. A real person responds in seconds, and you can share screenshots or links right in the chat. Phone support is also available. If you have a higher-tier plan, you get priority phone access, meaning less waiting. Both options work around the clock.
But sometimes you do not need to talk to anyone. GoDaddy’s knowledge base at help.godaddy.com is packed with step-by-step guides, video tutorials, and FAQs. You can search for almost any topic, like how to check auto-renew status, and find a guide written clearly. For example, the article on checking your product’s auto-renew setting shows you exactly where to click. That kind of self-service saves time.
If you ever feel stuck managing your godaddy website, remember that these support tools are always there. And if you want to compare GoDaddy’s support and pricing with other hosts, check out our breakdown of GoDaddy hosting prices for 2026. Knowing what you pay for helps you decide if the support level fits your needs.
Managing Multiple Products and Services
Once you start adding more services to your GoDaddy account, things can get messy fast. A domain here, a hosting plan there, an email subscription, maybe an SSL certificate. Pretty soon you are scrolling through pages trying to remember what you own. The good news is GoDaddy makes it easy to see everything in one place.
The Products tab (also called My Products) is your command center. It lists every active service you have. Domains, hosting, email accounts, SSL certificates, and more. You can see renewal dates, statuses, and payment info all on one screen. No digging through menus.
But the real time-saver is bulk actions. Need to renew five domains at once? You can. Want to update DNS settings across multiple products? That works too. This is especially helpful if you manage a godaddy website that uses several connected services. Instead of clicking into each product one by one, you select them all and apply the change in one go. GoDaddy even has a guide that shows you how to change multiple products at once to save time.
For resellers, agencies, or anyone managing client sites, the Group feature is a lifesaver. You can organize client products under one account using custom groups. That way you keep everything separate and easy to find.
If you want to keep your hosting costs under control while managing multiple products, check out our comparison of domain name renewal prices to avoid surprise bills after year one.
And if you are tired of juggling too many provider dashboards, Prism Webhost offers reliable hosting with tools that make managing your online presence straightforward.
Using the GoDaddy Mobile App
What happens when you step away from your desk and a problem pops up? Maybe you get an alert about your site running slow. Or you need to check if a domain renewal went through. You don’t want to wait until you are back at the office to handle it.
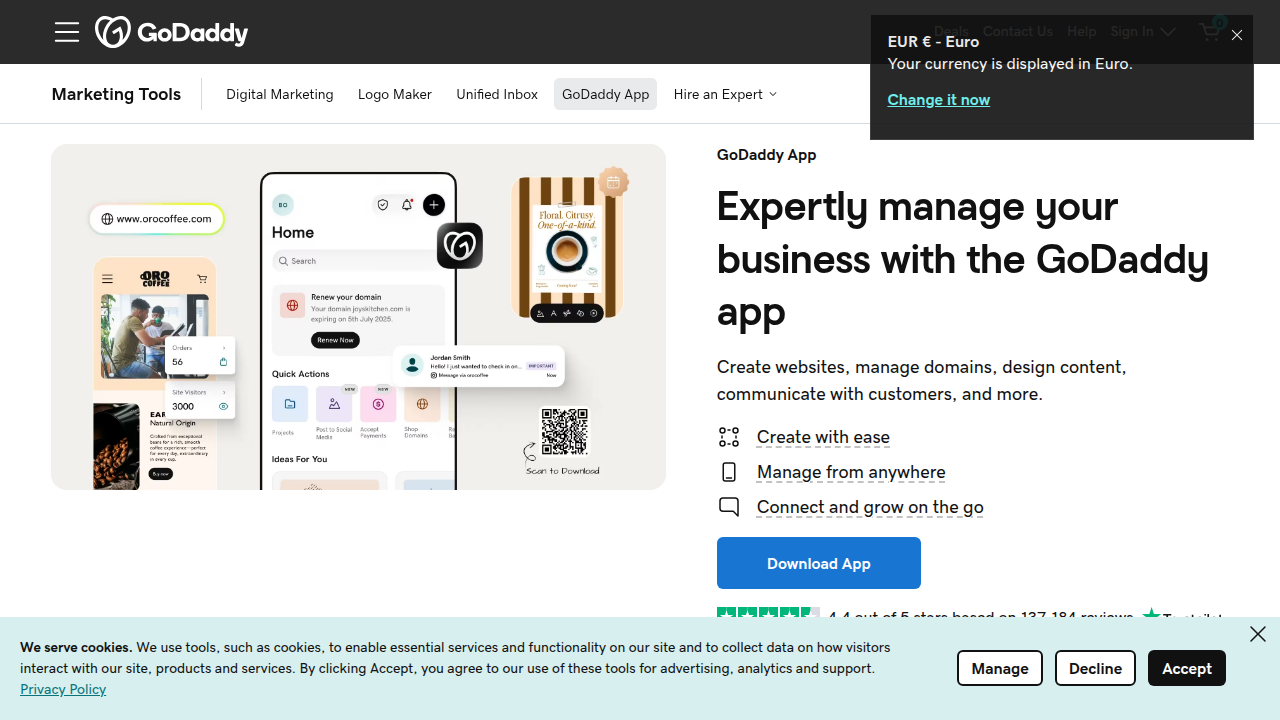
The GoDaddy mobile app fixes this. It works on both iOS and Android. The app brings most of your dashboard features straight to your phone. You can check domains, edit DNS records, view billing, and reach customer support. No computer needed.
One of the best features is push notifications. The app sends you alerts when domains are about to expire. It also lets you know when orders update or when something needs your attention. You can manage your contacts right from the app too.
The app is very useful for quick performance checks. If a customer says your site feels slow, you can pull out your phone and check for downtime or speed issues in seconds. This helps you stay on top of your godaddy website without being tied to a desk.
To learn more about what the app can do, visit the official GoDaddy mobile app page.
If the app helps you notice your site is running slower than expected, it might be a good time to look at your hosting setup. Check out our guide on web hosting services explained for small business to make sure you are getting the speed you need.
Summary
This guide walks you through the GoDaddy dashboard so you can manage domains, hosting, security, billing, and support without frustration. It explains where to find Domains, Hosting, Email, Security, and Account Settings, and shows practical steps like buying or transferring domains, turning on auto-renew, and launching cPanel or managed WordPress tools. You’ll learn how to enable two-factor authentication, install SSL certificates, and check DDoS protection to keep your site and customer data safe. The article also covers monitoring performance and uptime, best practices for payment methods, and how to use bulk actions when you manage many products. Finally, it points out support options and the mobile app so you can fix problems fast from any device. After reading, you’ll know exactly where to click in GoDaddy to keep your website running, secure, and on budget.