

Change WordPress Domain Safely Protect SEO and Ensure Zero Downtime
Article
Introduction: Why change your WordPress domain (risks, benefits, and what to expect)
Sometimes, a website needs a fresh start. You might want to change your WordPress domain name for many reasons. Maybe your business is growing and needs a new brand, or you are bringing a few small websites together under one main name. Perhaps you started your website on localhost/wordpress for testing and now you want to make it live for everyone to see. Or maybe you’re moving your whole website to a new hosting provider as part of a self hosting website update.
These are all good reasons to change wordpress domain, but doing so can feel like a big job. Small businesses often worry about two main things:
- Technical headaches: It can be confusing to move all your website files and settings without breaking anything. You want to avoid your website being down, even for a little while.
- Losing visitors: If search engines like Google can’t find your new website, you might lose customers. This means your website’s important ranking could drop, which hurts your business.
We know these worries are real. The idea of losing your website’s hard work or seeing fewer customers after you migrate wordpress site to new domain is scary. That’s why many business owners put off this important step. But it doesn’t have to be so hard.
This guide is here to help you change wordpress domain with a clear, step-by-step plan. We will walk you through everything, making sure your website stays safe and your visitors can still find you. We will also touch on understanding your domain name meaning how to understand your web address and choose the right one and how that might affect your wordpress domain cost. Our goal is to make sure you have minimal downtime and do not lose your place in search results. By the end, you’ll have a smoothly moved WordPress site and peace of mind.
Before you even think about moving your WordPress site, you need a good plan.
This first step is all about getting ready. It helps you avoid problems and makes sure your website stays strong when you change its address. Moving a website without planning is like building a house without a blueprint; it’s likely to cause headaches later.
What Do You Want to Achieve?
First, think about why you want to change your WordPress domain. What are your main goals? Is it to look more professional, combine several small sites, or simply fix an old domain name? Knowing your main goal will guide all your choices.
You also need to decide how much time your website can be down, if any. For some businesses, even a few minutes of downtime can mean lost sales. For others, a short break might be okay. This is called "downtime tolerance."
Next, think about your website’s standing with search engines like Google. This is your SEO priority. When you migrate a WordPress site to a new domain, you want to keep your good spot in search results. A big part of this means planning for a possible small drop in visitors and having a way to list all your old web addresses so they can point to the new ones, which is called URL mapping Protect Your Traffic With Our Domain Migration SEO Checklist. You should also check how your site is doing right now so you can compare it later SEO checklist for site migration and a successful launch.
Set Up Your Safety Nets: Backups and Rollbacks
It’s super important to have a way to go back if something goes wrong. This involves two main things:
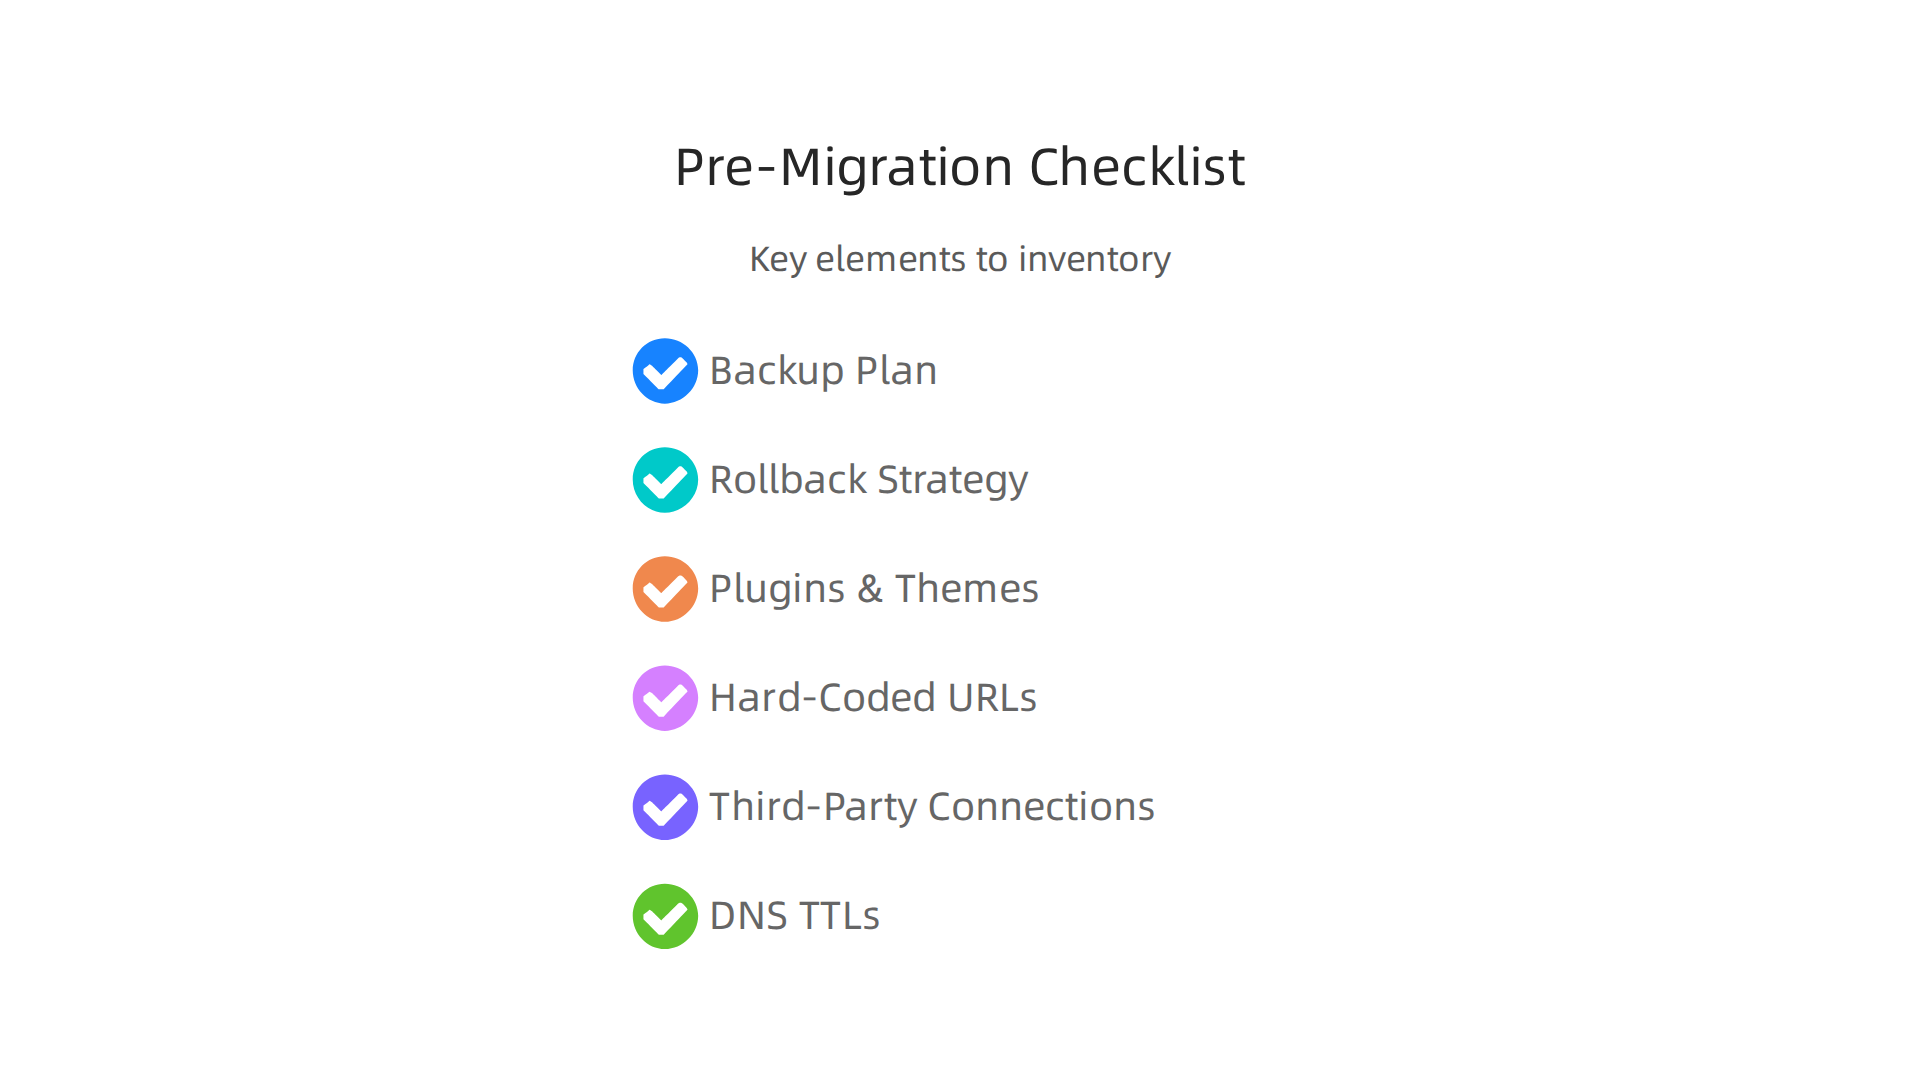
- Backup Plan: Before you make any changes, make a full copy of your website. This includes all your files and your database. Think of it like a safety copy of everything. Many good hosting providers, like Prism Webhost, offer automatic point-in-time backups, which can save you a lot of worry.
- Rollback Strategy: This is your plan for undoing the changes if the move doesn’t work out. What steps will you take to switch back to your old website? You need to know what triggers a rollback, like if too many errors happen or if the site runs too slowly WordPress Update Rollback Plan That Works. This plan ensures you can quickly fix things if your new site has big problems Migration Rollback Strategies: When Your Migration Doesn’t Go as Planned.
Don’t forget to tell important people, like your team or customers, about the change. A quick message can ease worries if they see your site looking different or going offline for a bit.
Know Your Website Inside and Out
Before you change your WordPress domain, you need to list everything important on your site. This includes:
- Plugins and Themes: Write down all the extra tools and designs you use.
- Hard-Coded URLs: Sometimes, links on your site are written directly into the code instead of updating automatically. You need to find these and plan to change them. This can include images, videos, or special links.
- Third-Party Connections: Do you use tools like Google Analytics, social media buttons, or other services connected to your site? Make a list, as you might need to update your new domain there.
- DNS TTLs: This is a small but important setting. It tells the internet how long to remember your website’s address. Before you move, you’ll want to make this time shorter so that when you update your domain, the internet learns the new address faster How to Migrate WordPress Without Downtime.
Taking the time to do this detailed inventory helps you understand the full scope of your wordpress domain cost and plan for a smooth move. To learn more about managing these expenses, read our guide on how to master your WordPress domain cost.
After you’ve planned everything, the next step is to get your new home on the internet. This means picking and registering your new domain name.
Choosing Your New Domain Name
Picking the right domain name is super important.

It should be easy to remember, spell, and say out loud. Think about how it fits your brand or business. Once you decide, you’ll need to register it with a domain registrar. These are companies that manage domain names. When you register, you usually have the option to add "WHOIS privacy." This service hides your personal contact details from public view, which helps protect your privacy.
You also need to understand the cost to buy a domain name in 2026 and consider renewal prices. Many registrars offer low first-year prices, but the renewal cost can be much higher. To make sure you pick a good registrar, learn how to find reputable domain name registrars that protect your business.
Getting Ready with DNS Settings
DNS stands for Domain Name System. Think of it like a phone book for the internet. It tells computers where to find your website when someone types your domain name. When you change your WordPress domain, you need to update these settings.
Here are the main types of DNS records you’ll work with:
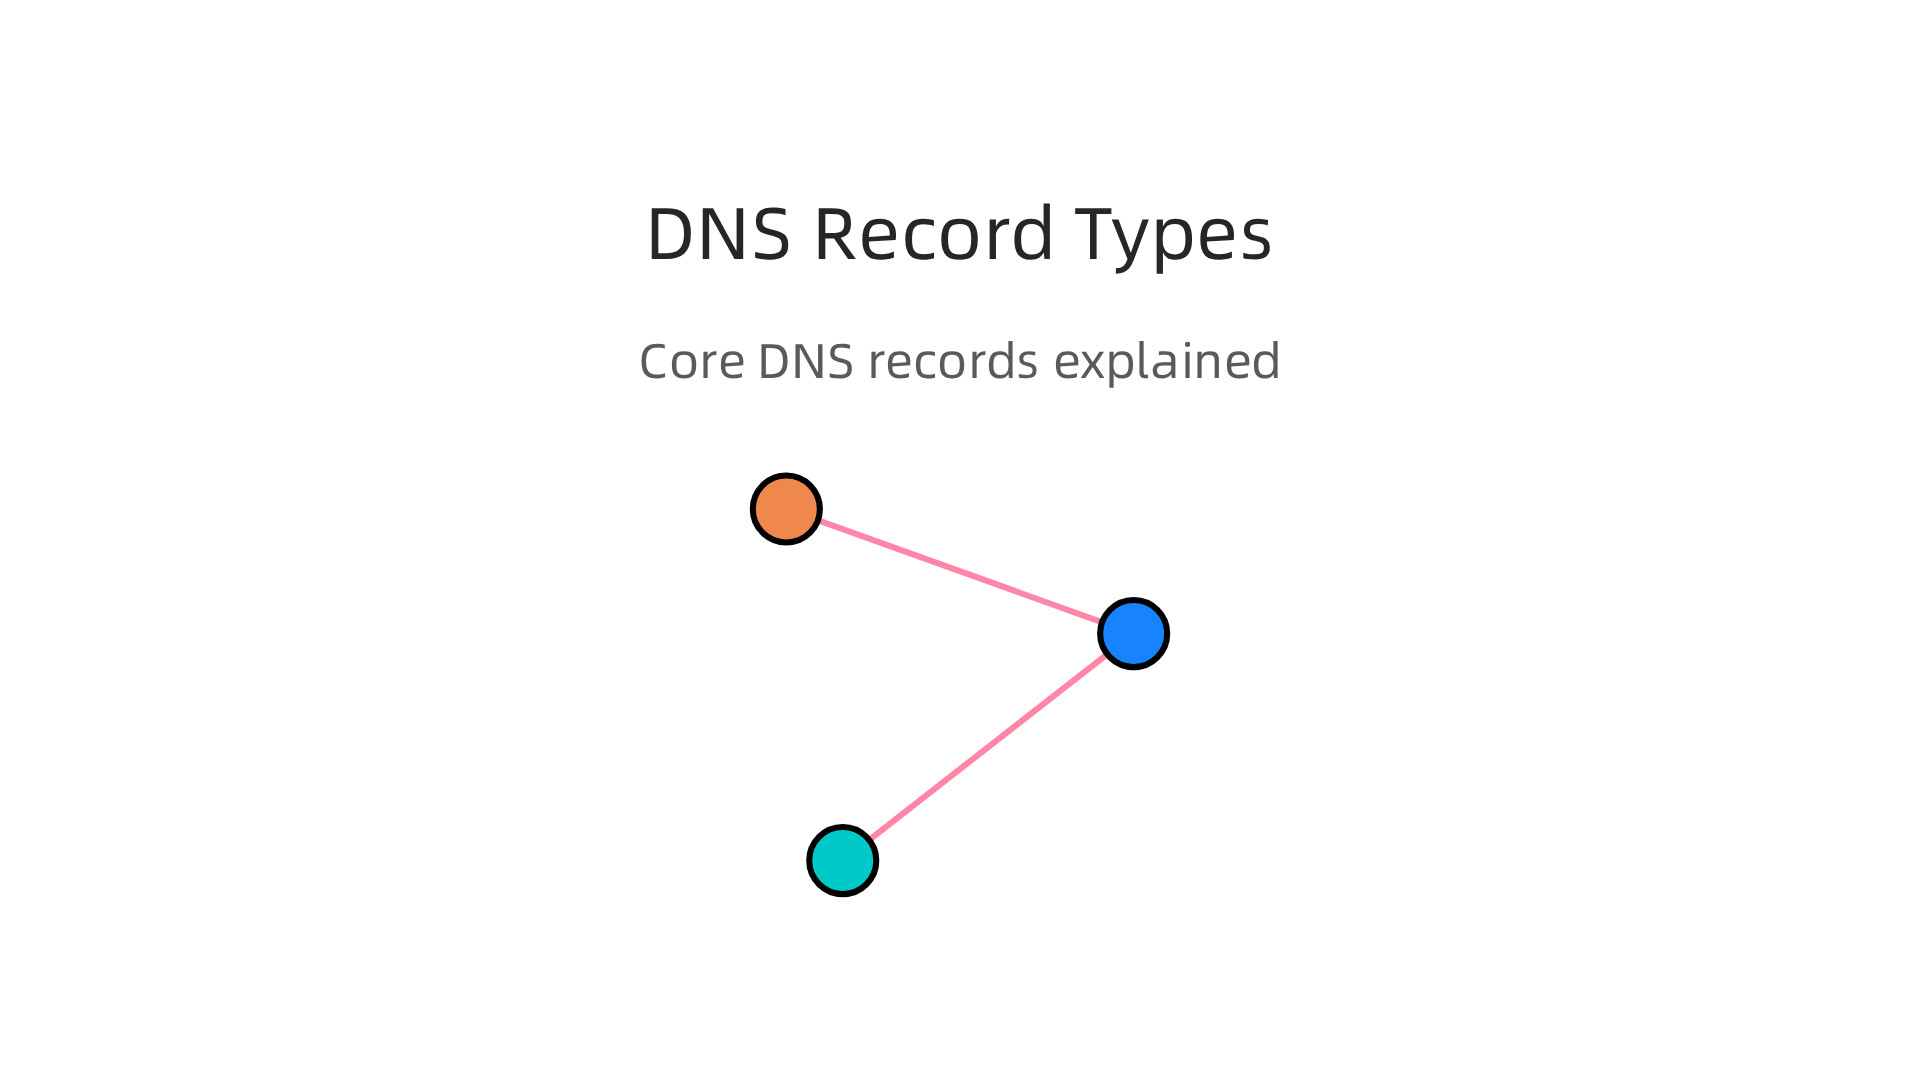
- A Record: This record points your domain name to the numerical address (IP address) of your web server. It’s how browsers find your website’s main files.
- CNAME Record: This record points one domain to another. For example, it can make "www.yournewsite.com" point to "yournewsite.com."
- MX Records: These records handle your email. If you use custom email addresses like "info@yournewsite.com," you’ll need to make sure these are set up correctly so your emails keep working after you migrate your WordPress site to a new domain.
A key setting to look at is your DNS TTL (Time To Live). This tells other computers how long to remember your site’s old address. Before you make the big switch, it’s a good idea to lower your TTL to a shorter time, like 5 minutes. This way, when you update your domain, the change will spread across the internet much faster, helping to minimize any time your site might be hard to reach. For a smooth process, it’s often recommended to reduce your DNS TTL at least a day or two before the move, as noted in a WordPress Migration Rollback Plan Crucial for Success discussion.
Registrar-Level Details
Your domain registrar also holds important settings for your new domain:
- Domain Locks: Make sure your new domain is "locked." This stops anyone from trying to move your domain without your permission.
- Transfer Window: Be aware of transfer rules. Most new domains cannot be transferred to another registrar for the first 60 days. This is usually not an issue when you just want to change your WordPress domain, but it’s good to know.
- Email Continuity: If your email is tied to your domain name, confirm with your registrar or hosting provider that your email services will continue to work without a hitch during and after the move. Many excellent hosting providers, like Prism Webhost, offer integrated services that make managing domains and hosting simpler. For reliable web hosting and domain services, consider exploring what Prism Web Host has to offer.
Paying attention to these steps will help make sure your new domain is set up correctly and securely, ready for your WordPress website to move in.
After your new domain name is all set up, it’s time to tell your WordPress website about its new home. This is a very important step because WordPress needs to know its own address to work right. If you don’t do this, parts of your site might still try to use the old address, causing problems for visitors. Making these changes safely is key to a smooth process when you want to change your WordPress domain.
Update WordPress’s Home and Site Address
WordPress has two main settings that tell it where your website lives: siteurl and home. These are stored in your WordPress database. The siteurl is the exact address of your WordPress files, and home is the address people type to visit your site. Usually, these are the same.
You can change these in a few ways:
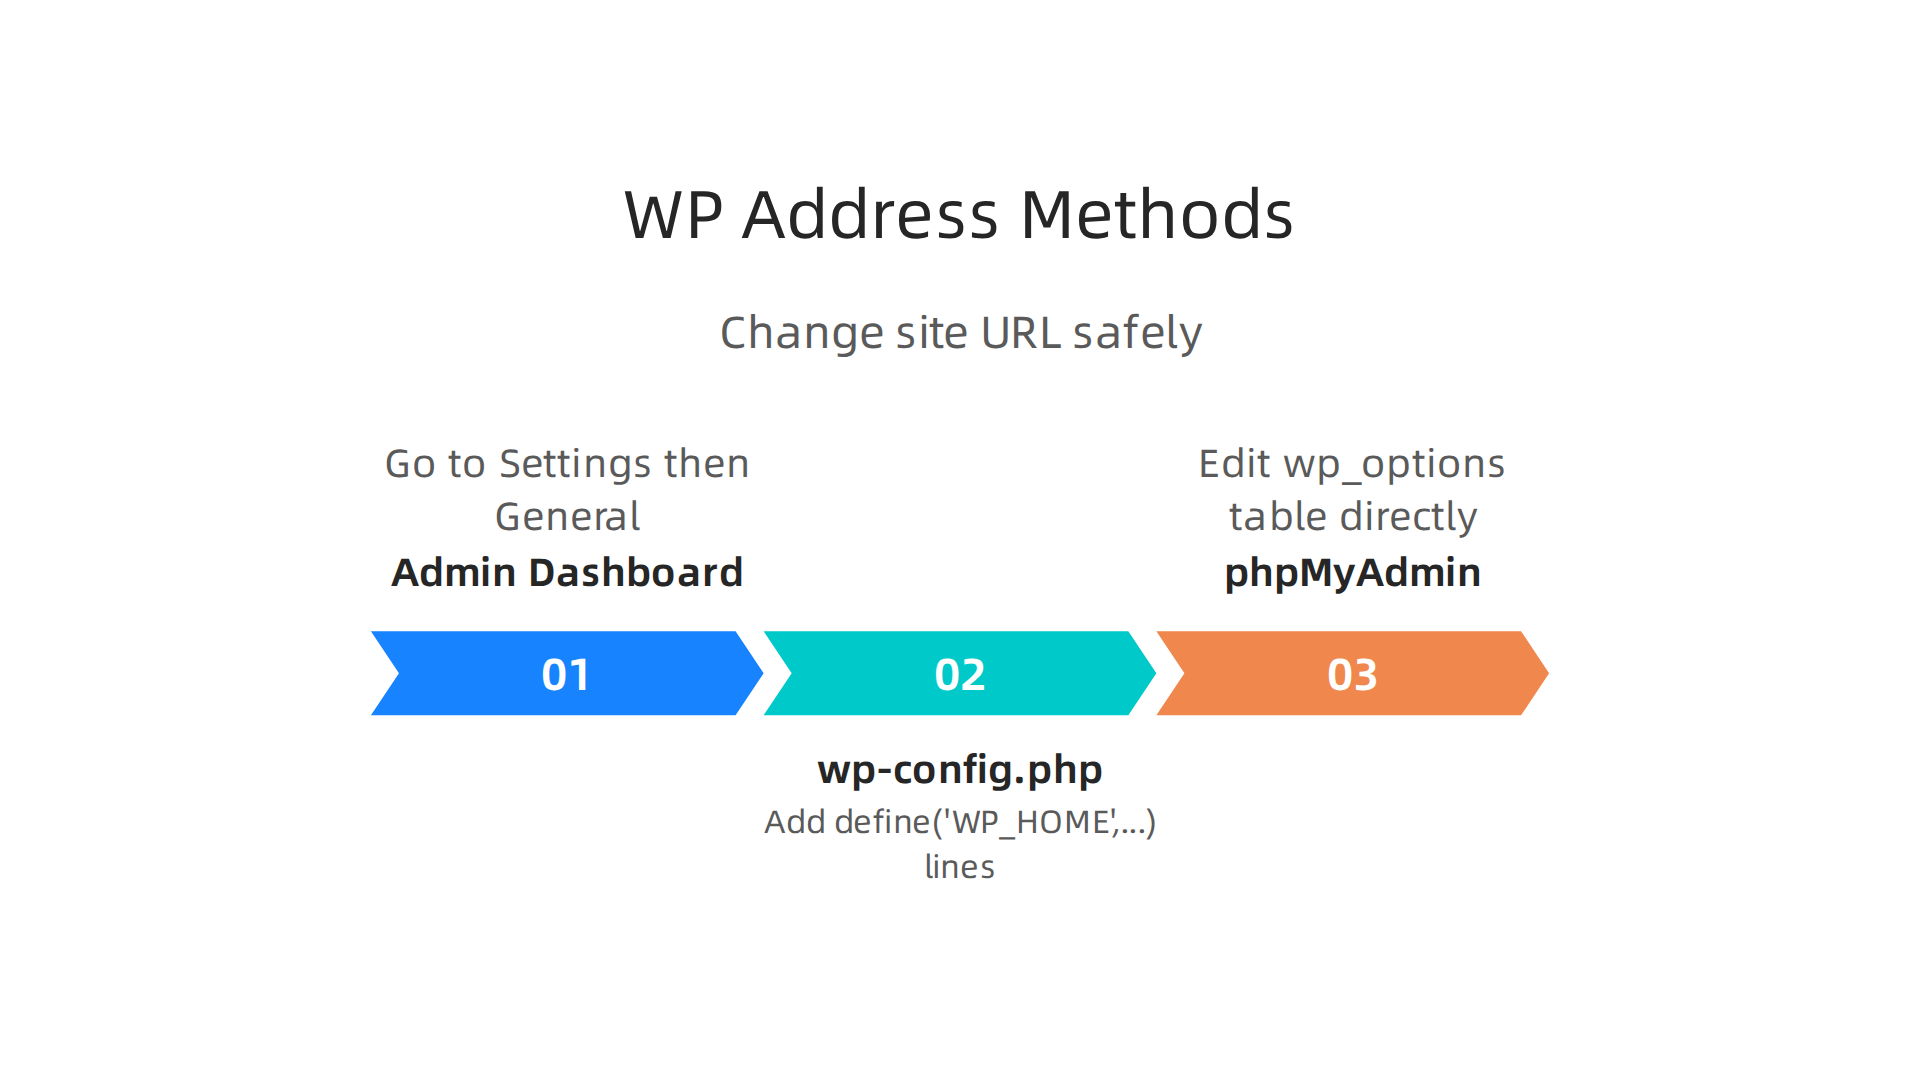
- Through your WordPress Admin Dashboard: This is the easiest way if you can still log into your old WordPress site. Go to "Settings" then "General." You’ll see "WordPress Address (URL)" and "Site Address (URL)." Just change both to your new domain name. Make sure you use "https://" if your new site has an SSL certificate.
- Using the
wp-config.phpfile: Sometimes, you can’t get into your WordPress dashboard after a domain change. In this case, you can edit a special file calledwp-config.php. You’ll need to use a file manager or FTP program. You can add these two lines to the file, replacinghttps://yournewdomain.comwith your actual new domain:define('WP_HOME','https://yournewdomain.com'); define('WP_SITEURL','https://yournewdomain.com');This tells WordPress your new address before it even looks at the database. You can find more details on this method in the Migrating WordPress handbook.
- Directly in the Database (phpMyAdmin): If the other methods don’t work, you can change these settings right in your database. This is a bit more technical, so be careful. Many hosting providers offer a tool called phpMyAdmin. You log in, find your WordPress database, and then look for the
wp_optionstable. Inside, you’ll findsiteurlandhome. You just edit these two values to your new domain. Remember to back up your database before making any direct database changes.
Fix Old Links in Your Database (Serialized Data)
Here’s a tricky part: WordPress stores a lot of information, like links inside your posts, image paths, and settings for themes and plugins, in a special way called "serialized data." If you just do a simple search-and-replace in your database to change "olddomain.com" to "newdomain.com," you can break this data. This means your pictures might disappear, or your plugins might stop working.
To avoid this, you need a smart tool. A regular find/replace might ruin your site, as WordPress stores domain information as serialized data, which requires special care during replacement, according to a discussion about changing website URL without breaking links.
- WP-CLI’s
search-replacecommand: If you’re comfortable with code and command lines (often used for self hosting website setups), WP-CLI is a powerful tool. It has asearch-replacecommand that knows how to handle serialized data safely. For example, you would use a command likewp search-replace 'https://olddomain.com' 'https://newdomain.com'to update all your URLs. This is a great way to migrate your WordPress site to a new domain without issues. As noted in a guide on WordPress Search and Replace the Database URL, this tool keeps your serialized data intact. - Plugins like Better Search Replace: For those who prefer a simpler approach, plugins like "Better Search Replace" can help. These tools do the hard work of finding all instances of your old domain and replacing them with the new one, correctly handling serialized data. Always make a backup before using such a plugin, just in case!
By using the right tools to update your WordPress settings and database, you can ensure that all your internal links, images, and other website parts work perfectly on your new domain. This is essential for a smooth transition and for keeping your website visitors happy. If you’re looking for an affordable way to host your new domain, consider checking out options for cheapest domain hosting in 2026.
After you have updated your WordPress database links, the next big step is to actually move your website files and get your new hosting set up. This part is critical to successfully change wordpress domain because it involves the physical transfer of your site’s parts and telling your hosting server where to find them.
Move Files, Databases, and Hosting Configuration (Step-by-Step Migration)
To migrate wordpress site to new domain, you will need to move your WordPress files and database to your new hosting spot.
- Copying Files: First, you need to copy all your WordPress files from your old host to your new one. This includes all your themes, plugins, images, and core WordPress files. You can usually do this using an FTP program or your hosting provider’s file manager. Make sure to keep the same file permissions and ownership so everything works right on the new server.
- Exporting and Importing the Database: You’ll also need to move your database. From your old hosting account, use a tool like phpMyAdmin to export your WordPress database. This creates a file (usually .sql) that contains all your site’s content, like posts, pages, and comments. Then, on your new hosting, create a new database and import this .sql file into it. Remember to connect this new database to your WordPress files by updating the
wp-config.phpfile with the new database details.
Updating Hosting Configuration
Once your files and database are in place, you need to tell your hosting server about your new domain. This means updating its settings.
- Virtual Hosts and Document Root: Your web server (like Apache or Nginx) uses something called a "virtual host" to know which files to show for a specific domain name. You’ll need to create or update this setting to point your new domain to the folder where your WordPress files now live. This folder is often called the "document root." If you are doing a
self hosting websitesetup, you will need to manually edit these configuration files, like those found in/etc/nginx/sites-availablefor Nginx, and then enable them. You can learn more about this process in guides on how to configure Nginx. - PHP and Server Settings: Double-check that your new hosting environment has the correct PHP version and other server settings that WordPress needs to run smoothly. Many hosting providers make this easy, but for those doing
self hosting websiteor on a VPS, you might need to adjust these manually.
Minimize Downtime and Plan for Rollback
When you change wordpress domain, downtime means your website is unavailable. To keep this to a minimum:
- Lower DNS TTL: Before you switch, lower your DNS "Time To Live" setting. This makes sure that when you update your domain’s name servers, the changes spread across the internet faster. You should do this a day or two before the move to help reduce the time your site might be unreachable, as suggested in guides on how to migrate WordPress without downtime.
- Use a Staging Site: You can create a temporary copy of your site on a different address (a "staging site") to test everything before making the big switch. This helps you find and fix any issues without affecting your live website.
- Domain Mapping: Some hosting providers offer tools for "domain mapping" that can help with the transition.
- Have a Rollback Plan: Always have a plan to go back to your old site if something goes wrong. This might involve keeping your old hosting active for a short while after the move. Having a WordPress migration rollback plan is crucial for success.
Moving your files and updating your hosting settings are big steps in changing your WordPress domain. When done right, they ensure your site works perfectly at its new address. If you’re looking for hosting that makes these steps easier, consider reliable providers. Prism Web Host offers secure and high-performance hosting designed to help businesses manage their online presence with less hassle.
Moving your WordPress files and updating your hosting settings are big steps in changing your WordPress domain. When done right, they ensure your site works perfectly at its new address. But simply moving your site is not enough. To protect your website’s visibility on Google and other search engines, you need to set up redirects and take other important SEO steps. Ignoring this can cause big problems for your search rankings and traffic.
5) Set up redirects and preserve SEO (301s, sitemap, canonical tags)
When you migrate your WordPress site to a new domain, search engines need to know that your old web pages have moved permanently to new addresses. This is where 301 redirects come in. They are like a "forwarding address" for your website, telling browsers and search engines that a page has a new home.
Implementing 301 Redirects
A 301 redirect is a permanent redirect. This means you are telling search engines that your old page is gone for good and all its "SEO juice" (like trustworthiness and ranking power) should pass to the new page. This is super important to prevent a major drop in your search rankings.
Here’s how to handle them:
- Map Every Old URL to a New One: Before you make the switch, create a detailed list of all your old URLs and match them to their new URLs on your new domain. This mapping should be very thorough, even for pages you think are not important. You can use tools to crawl your old site and get a list of all its pages. This is a crucial step for a successful domain migration, as highlighted in various SEO website migration checklists.
- Implement Redirects: You can add 301 redirects in several ways. For WordPress, plugins can help manage many redirects at once. If you are doing a self-hosting website setup, you might need to edit your server’s
.htaccessfile (for Apache servers) or Nginx configuration files directly. - Avoid Redirect Chains: Make sure one old URL redirects directly to its new URL, not through several other redirects. This is called a "redirect chain" and can slow things down or confuse search engines. Your goal is a direct path. Experts note that all redirects must be 301 (permanent) to preserve link equity during a domain migration Domain Migration SEO Guide 2026: What to Know Before You Move.
Updating Sitemaps, Canonical Tags, and Notifying Search Engines
After setting up your redirects, you need to update a few other things to help search engines understand your new site.
- Update Your XML Sitemap: An XML sitemap is like a map of your website for search engines. It lists all the pages you want them to crawl. Once you change WordPress domain, you’ll need to create a new sitemap for your new domain and submit it to Google Search Console (and other search engines). Also, remember to remove the old sitemap.
- Check Canonical Tags: Canonical tags tell search engines which version of a page is the "main" one if you have very similar pages. When you migrate WordPress site to new domain, ensure these tags point to the correct URLs on your new domain. According to one guide, checking elements like canonical tags is part of a thorough website migration checklist.
- Notify Search Engines: Use Google Search Console’s "Change of Address" tool. This is a powerful feature that tells Google you’ve moved your entire site to a new domain, helping it update its records faster.
Monitoring Organic Traffic and Signals
The work isn’t over after the switch. You need to keep a close eye on your website’s performance.

- Watch for Ranking Drops: After a domain change, it’s normal to see some changes in your search rankings and organic traffic. Sometimes, there can be a temporary drop. However, if you see a big, lasting drop, you need to investigate quickly. Research from 2026 shows that the average time for a site to recover its organic traffic after a domain migration is about 523 days, and some sites never fully recover. So, monitoring is key to fix issues fast and avoid being in the group that loses out How Long Should An SEO Migration Take? [Study Updated].
- Check for Broken Links: Use tools to find any broken links (404 errors) on your new site that might have been missed.
- Review Search Console: Keep checking Google Search Console for any crawl errors or warnings. These can tell you if search engines are having trouble understanding your new site.
By carefully planning and executing these SEO steps, you can help ensure a smooth transition and maintain your website’s visibility when you change WordPress domain. While you consider the steps for your new domain, it is helpful to understand the various factors that determine your domain name cost. Knowing these factors can help you budget for the ongoing expenses of your online presence.
Moving your WordPress files and updating your hosting settings are big steps in changing your WordPress domain. When done right, they ensure your site works perfectly at its new address. But simply moving your site is not enough. To protect your website’s visibility on Google and other search engines, you need to set up redirects and take other important SEO steps. Ignoring this can cause big problems for your search rankings and traffic.
6) SSL, security, and performance after the domain change
After you have moved your WordPress site and set up redirects, your next steps are all about making sure your new domain is secure and runs fast. These are vital for keeping your visitors happy and your site safe.
Getting Your SSL Certificate Right
An SSL/TLS certificate is super important for your website’s security. It encrypts the information sent between your visitors’ browsers and your website. This makes your site safe, especially for things like online shopping or login forms. Plus, search engines like Google prefer secure sites, giving them a small boost.
When you change WordPress domain, you will need to get a new SSL certificate for your new domain name, or reconfigure your old one to work with the new domain. If you are using a hosting company, they often make this easy for you. Some even offer free SSL certificates. Make sure your website then uses "HTTPS" in its address. This shows visitors that their connection is secure. It’s important to understand what you might pay for this, so learn more about GoDaddy SSL certificate cost.
Making Your Website Secure
After changing your WordPress domain, take a moment to check your site’s security.
- Web Application Firewall (WAF) Rules: If you use a WAF, update its rules to protect your new domain. A WAF helps block bad traffic before it reaches your site.
- DDoS Protection: Make sure your hosting has strong DDoS protection. This keeps your site online even if someone tries to flood it with fake traffic.
- Plugin Audits: Look through all your WordPress plugins. Remove any you do not need and make sure the ones you keep are updated. Outdated plugins can be weak points for hackers. If you handle a self hosting website, you’ll need to update server settings, too. Your web server needs to know how to handle requests for your new domain versus the old one, as discussed in "New domain for existing website – smooth switch?" documentation from Linode which touches upon handling requests for both domains.
Boosting Your Website’s Speed
A fast website keeps visitors engaged and helps with your search engine ranking.
- Caching: Use a caching plugin for WordPress. Caching saves parts of your website so it loads faster for repeat visitors.
- Content Delivery Networks (CDNs): Think about using a CDN. A CDN stores copies of your website in different places around the world. This means visitors get content from a server closer to them, making your site load much quicker.
- Image Optimization: Make sure your images are not too big. Large images slow down your site. Use plugins to shrink them without losing quality.
By focusing on SSL, strong security, and good performance, you ensure your new WordPress domain starts off on the right foot. You can find more information about reliable and secure hosting solutions, whether you’re looking to migrate WordPress site to new domain or start a new project, on the Prism Web Host main page.
Once your WordPress site is secure and running fast on its new domain, the real work of checking begins. It’s like moving into a new house; you need to make sure all the lights work and the water runs properly before you truly settle in. This final stage is all about making sure everything functions perfectly and having a plan if something goes wrong.
Comprehensive Post-Launch Testing
After you change WordPress domain, you must test every part of your website.
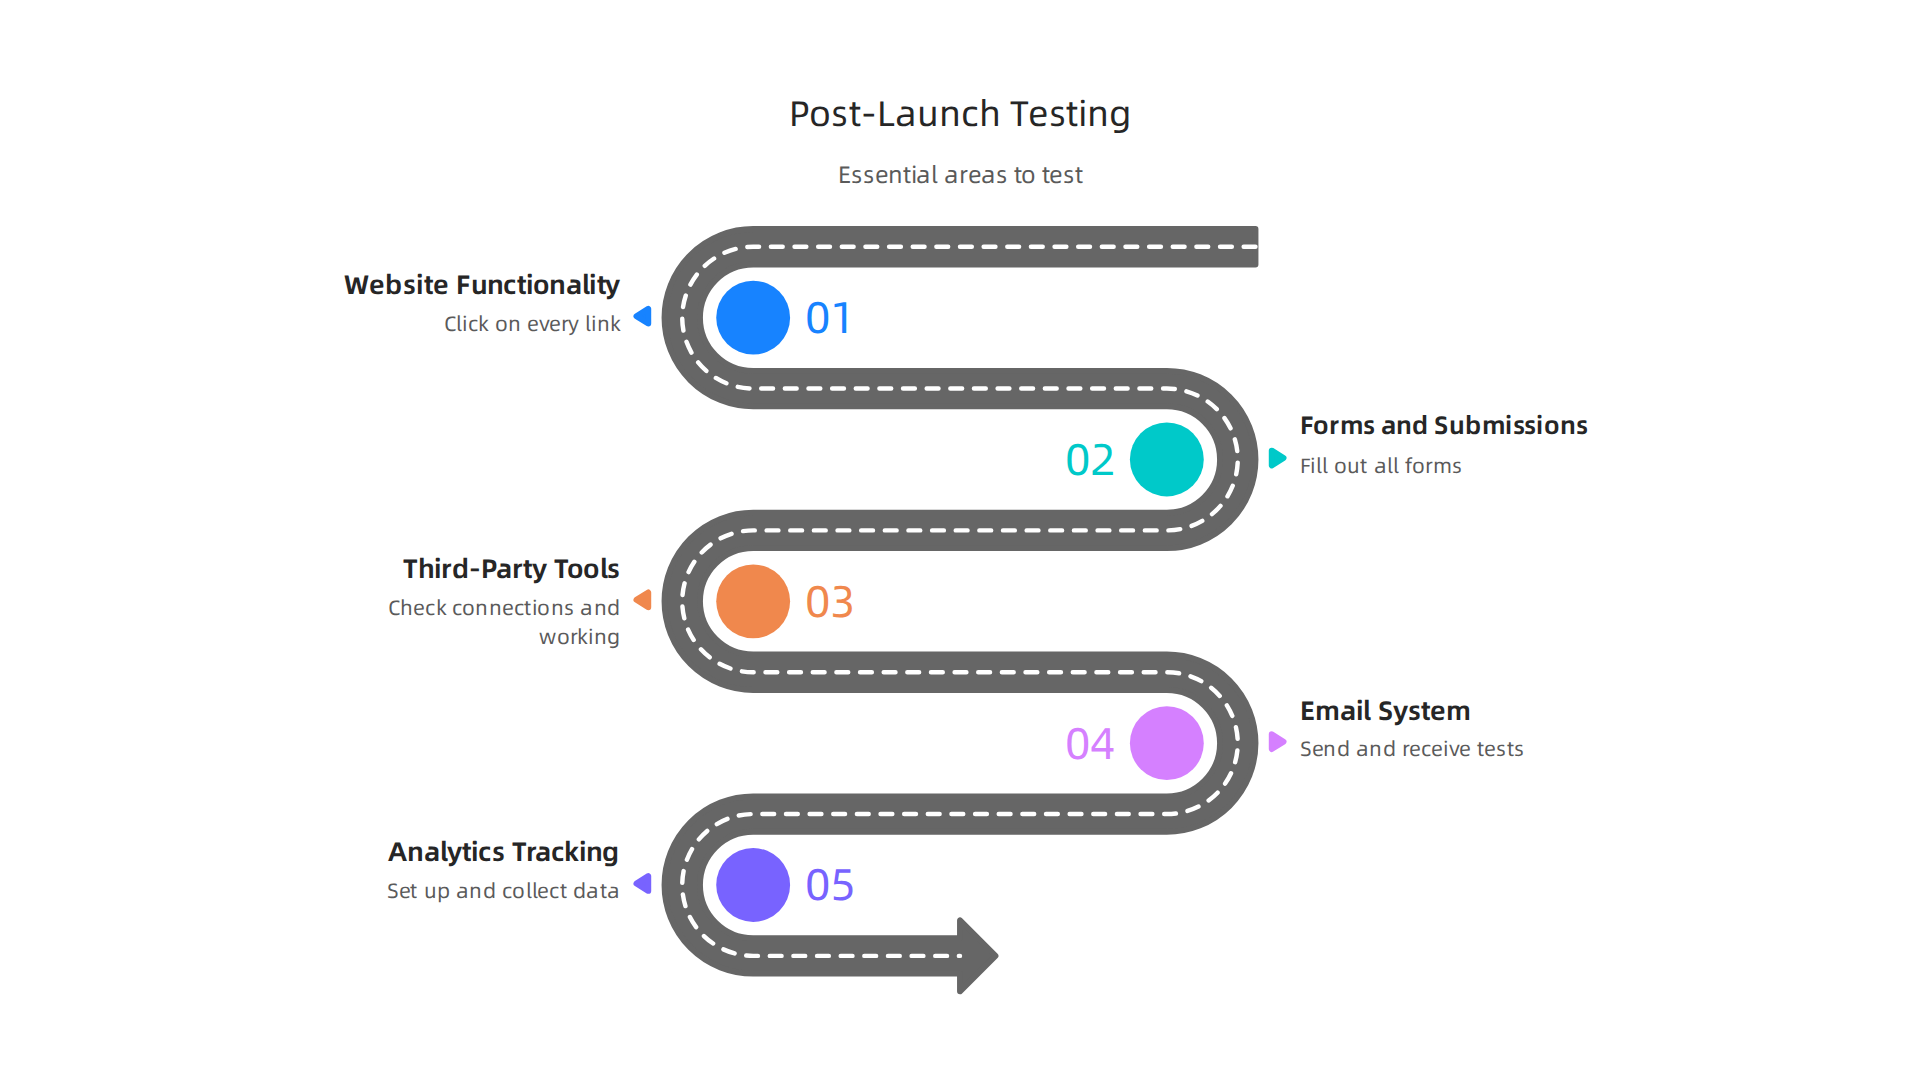
This step is super important to catch any small issues before they become big problems for your visitors. Think of it as a thorough check-up.
- Website Functionality: Click on every link, button, and menu item. Make sure they lead to the right pages and work as they should. Test things like search bars, filters, and sorting options.
- Forms and Submissions: Fill out all your contact forms, sign-up forms, and comment sections. Ensure that submissions go through correctly and that you receive any notifications.
- Third-Party Tools: If your site uses tools like payment gateways, social media feeds, or review platforms, check that they are all connected and working. For example, if you have an online store, test a purchase from start to finish.
- Email System: Send test emails from your WordPress site (e.g., password resets, order confirmations) and make sure they arrive in your inbox. Also, check that you can receive emails sent to your domain.
- Analytics Tracking: Make sure your website analytics, like Google Analytics, are correctly set up and collecting data for your new domain. This helps you track how people use your site. Many resources offer checklists for these steps, as highlighted in "The Ultimate SEO Migration Checklist" which discusses a full site crawl and URL mapping for a safe transfer of your site to a new domain The Ultimate SEO Migration Checklist (2026).
Monitoring Plans for Your New Domain
Launching your site on a new domain is not the end. You need to keep a close eye on it to make sure it stays healthy. Setting up clear monitoring plans helps you spot and fix problems quickly.
- Uptime Checks: Use a tool that constantly checks if your website is online. If your site goes down, you’ll get an alert right away. Consistent uptime is key for happy visitors and search engine rankings.
- Performance Metrics: Keep an eye on how fast your website loads. Tools can measure speed over time, letting you know if anything is slowing down. Slow sites can frustrate users and hurt your SEO.
- SEO Monitoring: This is vital when you migrate WordPress site to new domain. Check your search rankings, website traffic, and look for any crawl errors in tools like Google Search Console. You should expect a small drop in traffic right after a domain change, but it should recover. A good "Domain Migration SEO Checklist" will advise on how to protect your traffic during this process Protect Your Traffic With Our Domain Migration SEO Checklist. Regularly checking your website’s health helps ensure your new domain is performing well and not costing you in terms of visibility. You can also explore options to control your ongoing site expenses by understanding how your hosting impacts your overall web hosting cost in 2026.
Rollback Plan: Your Safety Net
Even with the best planning, sometimes things go wrong. That’s why having a rollback plan is so important. A rollback means going back to your old website setup if serious problems appear on your new domain.
- Rollback Triggers: Before you go live, decide what issues would make you roll back. This could be major errors that stop users from signing up or buying things, or if your website crashes completely. These are critical issues that demand immediate action.
- Executing a Safe Rollback: If a trigger happens, you need to be ready to act fast. This usually means restoring your website from a backup you made before the migration. It also means switching your domain’s settings back to point to your old website. A good rollback plan should clearly state what is moving and what triggers a rollback, as detailed in comprehensive guides like the "WordPress Multisite Migration: Complete Playbook 2026" WordPress Multisite Migration: Complete Playbook 2026.
By thoroughly testing, monitoring, and having a solid rollback plan, you give yourself peace of mind. You ensure that your decision to change WordPress domain leads to a successful, stable, and thriving online presence.
Summary
This guide explains how to change your WordPress domain with minimal risk to uptime, functionality, and search rankings. It walks you through planning the migration—defining goals, backups, and a rollback plan—then shows how to inventory plugins, hard-coded URLs, and third-party services. You’ll learn how to pick and register a new domain, update DNS and registrar settings, and change WordPress site URLs via the dashboard, wp-config.php, or the database. The article covers safe serialized-data replacement (WP-CLI or vetted plugins), moving files and databases to new hosting, and configuring virtual hosts. It also explains critical SEO steps—301 redirects, sitemap updates, and Search Console notifications—plus SSL, security, performance tweaks, and thorough post-launch testing and monitoring so your site stays secure and visible after the move.