
Migrate WordPress Site to New Domain Safely in 2026
Article
Moving your WordPress website to a new web address, also known as a new domain, can seem like a big job. Maybe your business is growing and needs a fresh brand name. Perhaps you found a better web host or want to move your practice site from a test area like localhost/wordpress to a live online home for everyone to see. No matter the reason, knowing how to properly migrate WordPress site to new domain is very important.

Changing your WordPress domain has many good reasons, but it also has risks. You could lose your spot in Google search results if not done right. This means fewer people might find your website. There could be times when your website is down, which means people cannot visit it, or links on your pages could break, making your site hard to use. Also, understanding the true WordPress domain cost can influence your decision to switch. Making sure everything works without problems is key. For example, setting up your new hosting account or changing your domain’s settings needs careful planning to avoid issues like lost data or a drop in website visitors, as highlighted in one WordPress Migration Checklist. It is important to set up 301 redirects from your old domain to your new one and update all links in your site’s database to avoid losing your search engine ranking, a tip shared by experts on How to Move WordPress to a New Domain Without Losing SEO.
This guide will walk you through each step needed to successfully change your WordPress domain in 2026. We’ll cover how to plan your move, create a full backup of your website, move your website files and database, update your site’s settings, handle changes to your internet name servers (DNS) and security certificates (SSL), and keep your good spot in search results. You will learn how to test everything before going live to make sure your self hosting website works perfectly. By the end, you will have a clear path to smoothly launch your website on its new home.
Moving your WordPress website to a new domain is a big step, and the first part of a successful move is good planning. Think of it like planning a trip. You would not just jump in the car and hope for the best, right? You would decide where to go, when to leave, and what to do if things go wrong.
Define Your Goals and What Could Go Wrong
Before you even touch your website, you need to think about why you want to migrate WordPress site to new domain. What do you hope to achieve? Is it a new brand, better hosting, or moving your test site from localhost/wordpress to a live address? Knowing your goals helps make sure the move is worth it.
Next, think about who needs to know about this move. This includes your team members, partners, and even your customers if your site will be down for a little bit. You also need to decide how much time your website can be offline, or its "downtime." Even a short downtime can affect how people find your site and how your business runs. Many experts agree that preparing your new hosting account and telling your audience about the move are key steps in any plan to change WordPress domain.
Most importantly, you need a "rollback strategy." This is your backup plan. If something goes wrong during the move, how will you go back to the way things were before? Having a clear plan to reverse the changes will save you a lot of stress and prevent major problems.
List All Your Website’s Parts
The next important planning step is to make a full list of everything on your existing self hosting website. This is called taking inventory. Your WordPress site is more than just pages and posts. It has many parts that need to be moved carefully.
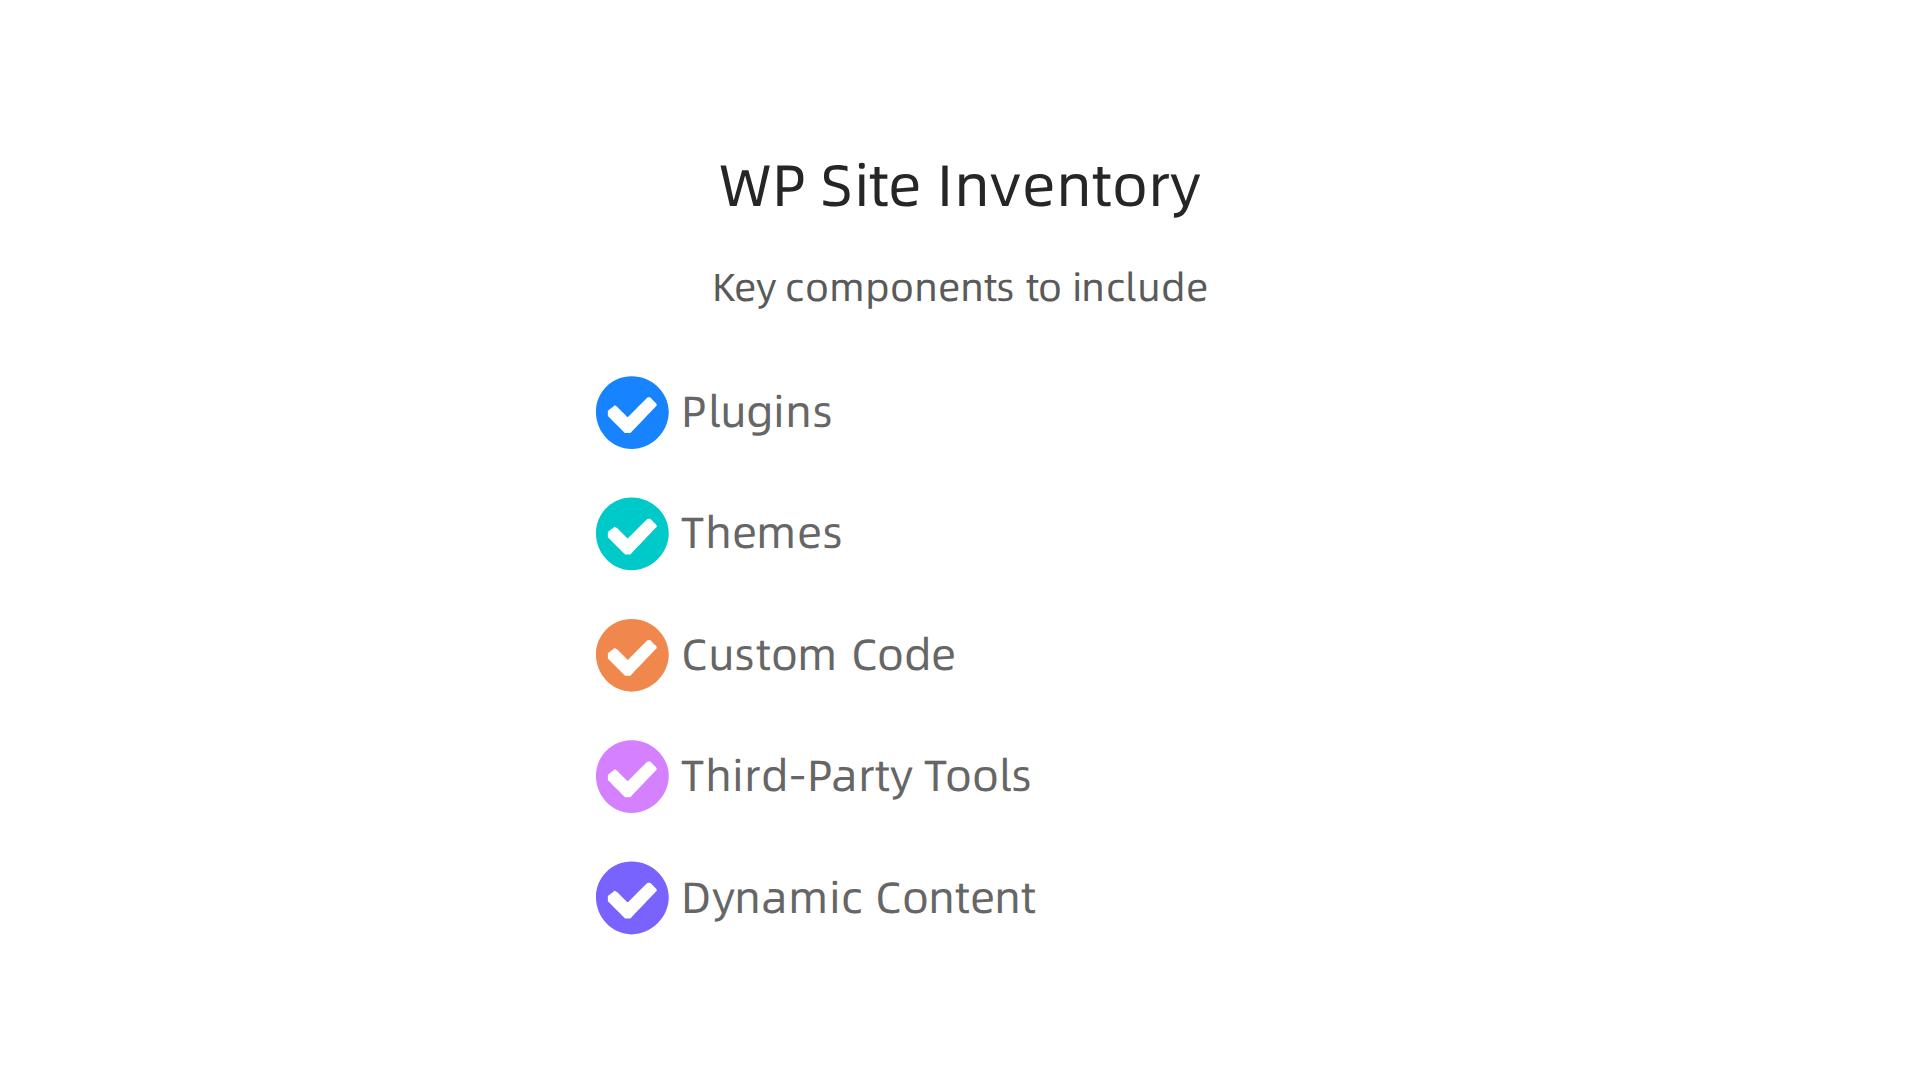
Here’s what you should list:
- Plugins: These are small programs that add features to your WordPress site. Make a list of all the ones you use.
- Themes: This is what makes your website look the way it does. Note which theme you have.
- Custom Code: If you or a developer added any special code that is not part of a plugin or theme, you need to know where it is.
- Third-Party Tools: These are outside services that connect to your website, like tools for email newsletters, analytics, or online shops.
- Dynamic Content: This includes anything that automatically pulls information, like pictures or links. These might still point to your old domain and will need updating.
Checking all these parts will help you avoid problems later. Make sure to check your site’s settings and active plugins, as mentioned in a comprehensive guide on How to Migrate a WordPress Site: 3 Methods Step by Step (2026). This detailed inventory helps ensure you do not miss anything crucial when you update your site’s settings later on. Taking the time to plan now will make the whole process much smoother. When planning, it’s also wise to understand your potential expenses, so consider how to calculate your true web hosting cost for your new home.
After you have made your plan and listed all your website’s parts, the next big step is to prepare your WordPress site for the move. This means making sure everything is in order and, most importantly, creating a full backup. Think of it as packing your bags carefully before a big trip. You want to make sure you have everything you need and a spare copy of important items, just in case.
Clean Up Your Site Before Backing Up
Before you make a copy, it is a good idea to clean up your website. This helps make the migration process smoother and faster. First, update your WordPress core, themes, and plugins to their newest versions. This helps avoid problems when you set up your site in its new home. Next, get rid of any plugins or themes you do not use anymore. Removing these old parts makes your site smaller and easier to move, as mentioned in a guide about The Best Way to Migrate a WordPress Site.
Create a Full Backup of Your WordPress Site
This is perhaps the most important part of preparing to [migrate WordPress site to new domain]. A full backup is your safety net. If anything goes wrong during the move, you can always go back to your old site as it was before. Without a good backup, you could lose all your hard work.
Your backup should include two main things:
- Website Files: These are all the main parts that make up your WordPress site. This includes the WordPress software itself, all your themes, plugins, and any pictures or files you have uploaded.
- Database: This is where all your important information lives, like your posts, pages, comments, user details, and all your website settings.
You can create a backup using special WordPress plugins or by doing it manually through your hosting control panel. For a step-by-step visual guide on how to do this yourself, watch this video on How to MANUALLY Migrate Your WordPress Site (still works in 2026). It shows you how to back up both your files and your database.
Verify Your Backup and Test It
Just having a backup is not enough. You need to make sure it works! Imagine packing a parachute but never checking if it opens. You would not want to do that with your website. After you make your backup, it is a smart idea to try to restore it in a safe place, like a "staging environment." This is a copy of your site that is not live to the public. If you can successfully bring your site back from the backup in this staging area, you know your backup is good and ready. You might also want to look for a reliable new host by checking Web Hosting Services Reviews 2026 before you commit.
Having a working test copy of your site on a different server helps you make sure the new server works correctly before you fully switch over, which is a key step in a guide to Migrate WordPress to a New Host: Zero-Downtime 2026. This way, you can fix any small problems before they become big issues for your live website. Making sure your site is safe and ready with good backups is the best way to get ready for a smooth change to your new domain.
Ready to move your website to a hosting environment designed for speed, security, and effortless management? Explore features like automated backups and enterprise-grade security for your new WordPress site. Visit Prism Web Host.
After you have made sure your backup works well, it is time to actually move your WordPress site. This step is about taking your website’s files and database from their old home and putting them into their new home. Think of it like carefully moving all your belongings into a new house.
Copy WordPress Files to Your New Domain
First, you need to get all your WordPress files to the new server where your new domain will live. You can do this in a few ways:
- Using an FTP Program (like FileZilla): This is like sending a big box of files over the internet. You connect to your old server, download all your WordPress files, and then connect to your new server and upload them. Make sure you put them in the correct folder, usually
public_htmlorwww, on your new server. - Using your Hosting Control Panel: Many hosting companies provide a "File Manager" tool inside your account. This lets you move files around without needing a special program. You can often compress your files into a zip file on the old server, download the zip, then upload it to the new server and "unzip" it there. This can be faster for many files.
It is important to keep the file permissions right. This means making sure your server knows who can read, write, or run each file. Usually, your hosting company sets these up correctly, but sometimes you might need to check them. The WordPress team provides guidance on Moving WordPress and recommends how to best handle your site files during this process.
Export and Import Your Database
Next, you need to move your website’s database. This is where all your blog posts, pages, and settings are stored.
- Export from the Old Server: Go to your old host’s control panel and find "phpMyAdmin" or a similar database tool. Select your WordPress database and choose "Export." Most times, you will want to export it as an "SQL" file. This creates a single file with all your database information. A guide on How to carry out WordPress migration step by step – IONOS explains this process clearly.
- Create a New Database: On your new hosting server, you need to create an empty database. You will also need to create a new user for this database and give that user all the rights to it. Write down the database name, username, and password, as you will need them soon.
- Import to the New Server: Go to the new database you just made on your new server, again using phpMyAdmin. Choose "Import" and upload the SQL file you exported from your old site. This will fill your new database with all your website’s content.
Update Database Details and URLs
Now that your files and database are on the new server, you need to tell your WordPress site where to find its database and what its new domain name is.
- Edit
wp-config.php: This important file tells WordPress how to connect to its database. You will find it in the main folder where you uploaded your WordPress files. Open it and change the database name, username, and password to the new ones you created earlier. It is also good practice to make sure theWP_HOMEandWP_SITEURLdefinitions are correct for your new domain, as suggested in guides for WordPress database URL migration with WP-CLI search-. - Change Old URLs to New Ones: This is a very important step. Your database still has your old domain name saved in many places. You need to change all these mentions to your new domain. This is often called "serialized data" and it needs special care.
- Using a Plugin: The safest and easiest way to do this is with a special plugin like "Better Search Replace." You install it on your new site, tell it your old domain (e.g.,
olddomain.com) and your new domain (e.g.,newdomain.com), and it changes them all correctly. This helps migrate WordPress site to new domain smoothly. - Manual Update (Advanced): If you are comfortable with databases, you can also change the URLs directly in phpMyAdmin, especially in the
wp_optionstable forsiteurlandhomevalues, but be very careful. For a full change, using a plugin or a special command-line tool (WP-CLI search-replace) is much safer, as stated in a guide on The definitive guide to migrating WordPress database urls.
- Using a Plugin: The safest and easiest way to do this is with a special plugin like "Better Search Replace." You install it on your new site, tell it your old domain (e.g.,
Once these steps are done, your website’s heart and soul are successfully moved to their new home, ready for the final touches. If you’re looking for an online presence without the high setup costs, exploring options for cheapest domain hosting in 2026 can be a smart move.
After getting your website’s files and database to their new home, the next big step is to tell WordPress where it lives now and how to find everything. This means updating important settings and making sure all your links work correctly on your new domain.
Update Your WordPress Settings
There are a few key places where you need to change old names to new ones.
-
Edit
wp-config.phpFile:
This special file acts like your site’s main instruction book. You might have already changed the database details here, but double-check these lines. They tell WordPress your new database name, username, and password. Sometimes, you also need to add or update lines forWP_HOMEandWP_SITEURL. These lines directly tell WordPress what your website’s main address is. Making sure these are right is a key step to update URLs in the WordPress database. -
Update Site URLs in the Database:
Even after changingwp-config.php, your website’s database still holds many old links. These include links to your pictures, other pages, and parts of your theme. It’s super important to change all of these to your new domain. If you don’t, your visitors might see broken images or get sent back to your old website.- Using a Plugin: The easiest and safest way to do this is with a special plugin. Tools like "Better Search Replace" can find all mentions of your old domain and change them to your new one in one go. This helps you migrate WordPress site to new domain successfully.
- Manual Update (Careful!): You can also change these in phpMyAdmin, especially in the
wp_optionstable forsiteurlandhome. However, for other links, directly changing the database can be tricky because WordPress stores some information in a special way called "serialized data." If you mess this up, your site could break. That’s why plugins or WP-CLI tools are usually safer for a full WordPress database URL migration.
Refresh Permalinks and Test Routing
After updating all your URLs, you need to tell WordPress to refresh its link structure. These are called "permalinks," and they decide how your website addresses look (like yournewdomain.com/about-us).
- Go to your WordPress admin area.
- Click on "Settings," then "Permalinks."
- Without changing anything, just click the "Save Changes" button. This simple act will refresh all your links and make sure they point to the right places on your new domain. It’s like reminding your website where all its rooms are. This is part of the important tasks when you migrate WordPress.
Check Plugin Settings and Hard-Coded Links
Even after all these changes, some things might still be pointing to your old domain.
- Plugin Settings: Some plugins, especially those for SEO, security, or image optimization, might have their own settings that store your old domain. Go through your important plugin settings and make sure they are updated for your new domain.
- CDN/Push Settings: If you use a Content Delivery Network (CDN) to make your site faster, you’ll need to update its settings to point to your new domain.
- Theme or Custom Code: Sometimes, links are "hard-coded" directly into your theme files or special code you’ve added. You might need to check these files using an FTP program or your hosting’s file manager and manually change any old domain names. Looking at 13 Best Practices for WordPress Website Migration can help you find areas to check.
Testing is very important after you change your WordPress domain. Click around your entire website, visit different pages, check images, and submit forms to make sure everything works as it should. Ensuring your site works perfectly after you change wordpress domain is key to a smooth switch.
After making sure your WordPress site works internally on your new server, the next big step is to tell the entire internet about your new address. This involves updating your domain’s instructions and setting up security for it.
DNS Changes for Your New Domain
Think of DNS (Domain Name System) as the internet’s phone book. When someone types your new domain name into their browser, DNS helps their computer find the correct server where your website lives. You’ll need to change special "records" in your DNS settings. You usually do this through your domain registrar or hosting provider.
Here are the main types of records you might update:
- A Records: These point your main domain name to the server’s unique internet address (IP address).
- AAAA Records: These are similar to A records but are for a newer type of internet address (IPv6).
- CNAME Records: These are like nicknames. They let one domain name point to another.
A very important part of DNS is called TTL, which stands for Time to Live. This tells other computers how long they should remember your website’s old address before checking for updates. If your TTL is set for a long time, like 24 hours, it could take a whole day for everyone to see your new site.
To make your move smoother and faster, it’s a good idea to lower your TTL value a day or two before you plan to migrate wordpress site to new domain. Many experts suggest lowering it to about 300 to 600 seconds (5 to 10 minutes) DNS TTL Best Practices For A, MX, CNAME And TXT …. This way, internet servers will check for updates much more often. Once your site is fully moved and working, you can change the TTL back to a higher value, like 24 hours, to help with speed and performance Understanding DNS TTL and Propagation (2025). This careful step helps reduce downtime during your change wordpress domain process.
Secure Your Site with SSL/TLS Certificates
Once your DNS is pointing to the right place, you need to make sure your website is secure. This means getting and setting up an SSL/TLS certificate. That "https://" at the start of your website address and the little padlock icon in the browser come from an SSL certificate.

It makes sure that information shared between your website and your visitors is encrypted and safe.
Most good web hosting companies, such as Prism Web Host, offer free SSL certificates that are easy to set up. If you’re managing a self hosting website, you might need to get one from a service like Let’s Encrypt.
After you install the SSL certificate, check your site by typing https:// before your domain name in the browser. Look for the padlock icon and make sure there are no warnings. Also, keep an eye out for "mixed content" issues. This happens when some parts of your new site still try to load using the old, unsecure "http://" connection. Fixing these makes sure your entire website is safe and secure for all visitors. Understanding what is web hosting services can help you pick a provider that makes this easy.
Now that your site is secure with an SSL certificate, the next big step is to tell search engines like Google that your website has moved to a new address. This is super important to make sure you do not lose your place in search results. You need to guide your old visitors and search engines to your new site.
Set Up 301 Redirects
Think of a 301 redirect as a permanent "Change of Address" form for your website. When someone tries to go to an old page on your old domain, a 301 redirect automatically sends them to the same page on your new domain. This tells search engines that the move is permanent and helps keep your search rankings. Without these redirects, search engines might see your new site as a brand new site, starting your SEO efforts from scratch.
To set up 301 redirects, you will usually need to edit a special file called .htaccess on your old website’s server. This file tells the server how to handle requests. You can connect to your old site using something like FTP or your hosting control panel to find this file.
Here is a common piece of code you would put in your .htaccess file to send all traffic from your old domain to your new one:
RewriteEngine On
RewriteRule ^(.*)$ https://www.yournewdomain.com/$1 [R=301,L]
Remember to change https://www.yournewdomain.com to your actual new website address. This code makes sure that every single old page links correctly to its new home. Many experts agree that using 301 redirects is non-negotiable when you migrate wordpress site to new domain if you want to keep your SEO value How to Redirect a Domain Without Losing SEO. If you are not comfortable with code, some WordPress plugins can also help you set up 301 redirects easily.
Update Search Consoles and Sitemaps
After you set up your redirects, you need to tell Google and other search engines directly about your change wordpress domain. This involves two main steps:
- Add your new domain to Google Search Console: This free tool from Google helps you see how your site is doing in search. You need to add your new domain as a "property" and verify that you own it.
- Use the Change of Address tool: In Google Search Console, for your old domain, there’s a special "Change of Address" tool. This tool lets Google know officially that your site has moved. This is a crucial step for a smooth transition without losing your hard-earned SEO WordPress SEO Migration Checklist: How to Move Without Losing Rankings.
- Submit a new sitemap: A sitemap is like a map of all the pages on your website. After you move, you should create a new sitemap for your new domain and submit it to Google Search Console. This helps Google find and understand all your new pages.
You should also keep an eye on things after the move. Check your Google Search Console regularly for any "crawl errors." These are problems Google finds when trying to access your site. Also, review your "canonical tags" and "hreflang" settings if you use them. Canonical tags tell search engines which version of a page is the main one, and hreflang tags are for websites with content in different languages. Monitoring these helps make sure your new site is indexed correctly and that all your SEO efforts continue to work. For those thinking about the overall wordpress domain cost, remember that protecting your SEO helps keep your traffic strong, which is a return on that investment.
After telling search engines about your new domain, it is vital to make sure everything actually works. This is where testing comes in. You need to thoroughly check your new site before and after it goes live to ensure a smooth switch for your visitors and for search engines. This helps you migrate wordpress site to new domain successfully without losing any important features or traffic.
Functional Testing Before Launch
Before you officially launch your new site, you must test every part of it. Think of it like a final safety check. This is true whether you built your site on localhost/wordpress and are moving it to a live server, or simply performing a change wordpress domain on an existing live site. Here’s what to look for:
- Forms: Test all contact forms, signup forms, and comment sections. Make sure they send messages correctly and that you receive them.
- Logins: If your site has user accounts, test the login and registration processes. Make sure users can access their profiles without issues.
- E-commerce Checkout: For online stores, walk through the entire buying process. Add items to a cart, go through checkout, and make sure payments work. You want to make sure customers can buy things easily.
- Third-Party Integrations: Check if any tools you use from other companies, like social media feeds, analytics tools, or booking systems, are still working right.
- Navigation and Links: Click on main menu items, links in the footer, and any links inside your content. This helps find broken links or "404 errors" that could confuse visitors or search engines. This also verifies that all links point to the correct new domain The Complete Post-Migration WordPress Testing Checklist (2026).
- Performance and Security Scans: Check how fast your website loads. Slow sites can make visitors leave. Also, run basic security checks to make sure your site is safe from common threats. This is especially important for anyone opting for
self hosting websitesolutions, where security is fully on your shoulders. A solid web host can provide enterprise-grade security features like DDoS protection and SSL/TLS to keep your site safe from harm. For reliable and secure hosting, consider checking out Prism Web Host.
Many experts suggest making a checklist to test everything that changed or could break during the migration. This helps ensure you do not miss anything important Website Migration Testing – 5 Key Considerations to Include.
Post-Launch Monitoring Checklist
The work does not stop once your new site is live. You need to keep a close eye on it, especially for the first few months.

This is crucial to catch any issues early.
- Analytics Check: Look at your website analytics (like Google Analytics). Are people still visiting your site? Are they going to the right pages? Look for any sudden drops in visitors.
- Uptime Monitoring: Make sure your website stays online all the time. Many tools can alert you if your site goes down.
- Error Logs: Regularly check your website’s error logs. These can show you hidden problems that might affect how your site works or how search engines see it.
- SEO Position Checks: Keep an eye on your search rankings for important keywords. You can use tools to track how your pages are doing in Google search. Search Console is a good place to start, and you should monitor it closely for any changes in rankings or crawl errors The Complete Website Migration Checklist (SEO & Testing).
- 30- to 90-Day Follow-Up: Plan to do a full review of your site’s performance and SEO health within 30 to 90 days after the move. This longer check helps ensure all aspects of your new site are stable and performing as expected.
Ensuring your site is on a good hosting plan is a core part of its ongoing performance and security. Understanding your web hosting cost in 2026 and what that includes is vital for long-term success.
Summary
This guide explains how to migrate a WordPress site to a new domain safely and without losing traffic. It walks you through planning the move, taking a complete inventory of plugins/themes/custom code, cleaning the site, and creating verified backups you can restore in a staging environment. You will learn how to copy files, export/import the database, update wp-config.php and change all old URLs (including serialized data) using safe tools, then refresh permalinks and fix hard-coded links. The guide covers DNS changes, lowering TTL for faster propagation, installing SSL/TLS, and setting up site-wide 301 redirects plus Search Console and sitemap updates to protect SEO. Finally, it shows what to test before launch and how to monitor performance and search rankings after the switch so you can catch and fix problems promptly.